Rear quarter panel work.

Tags

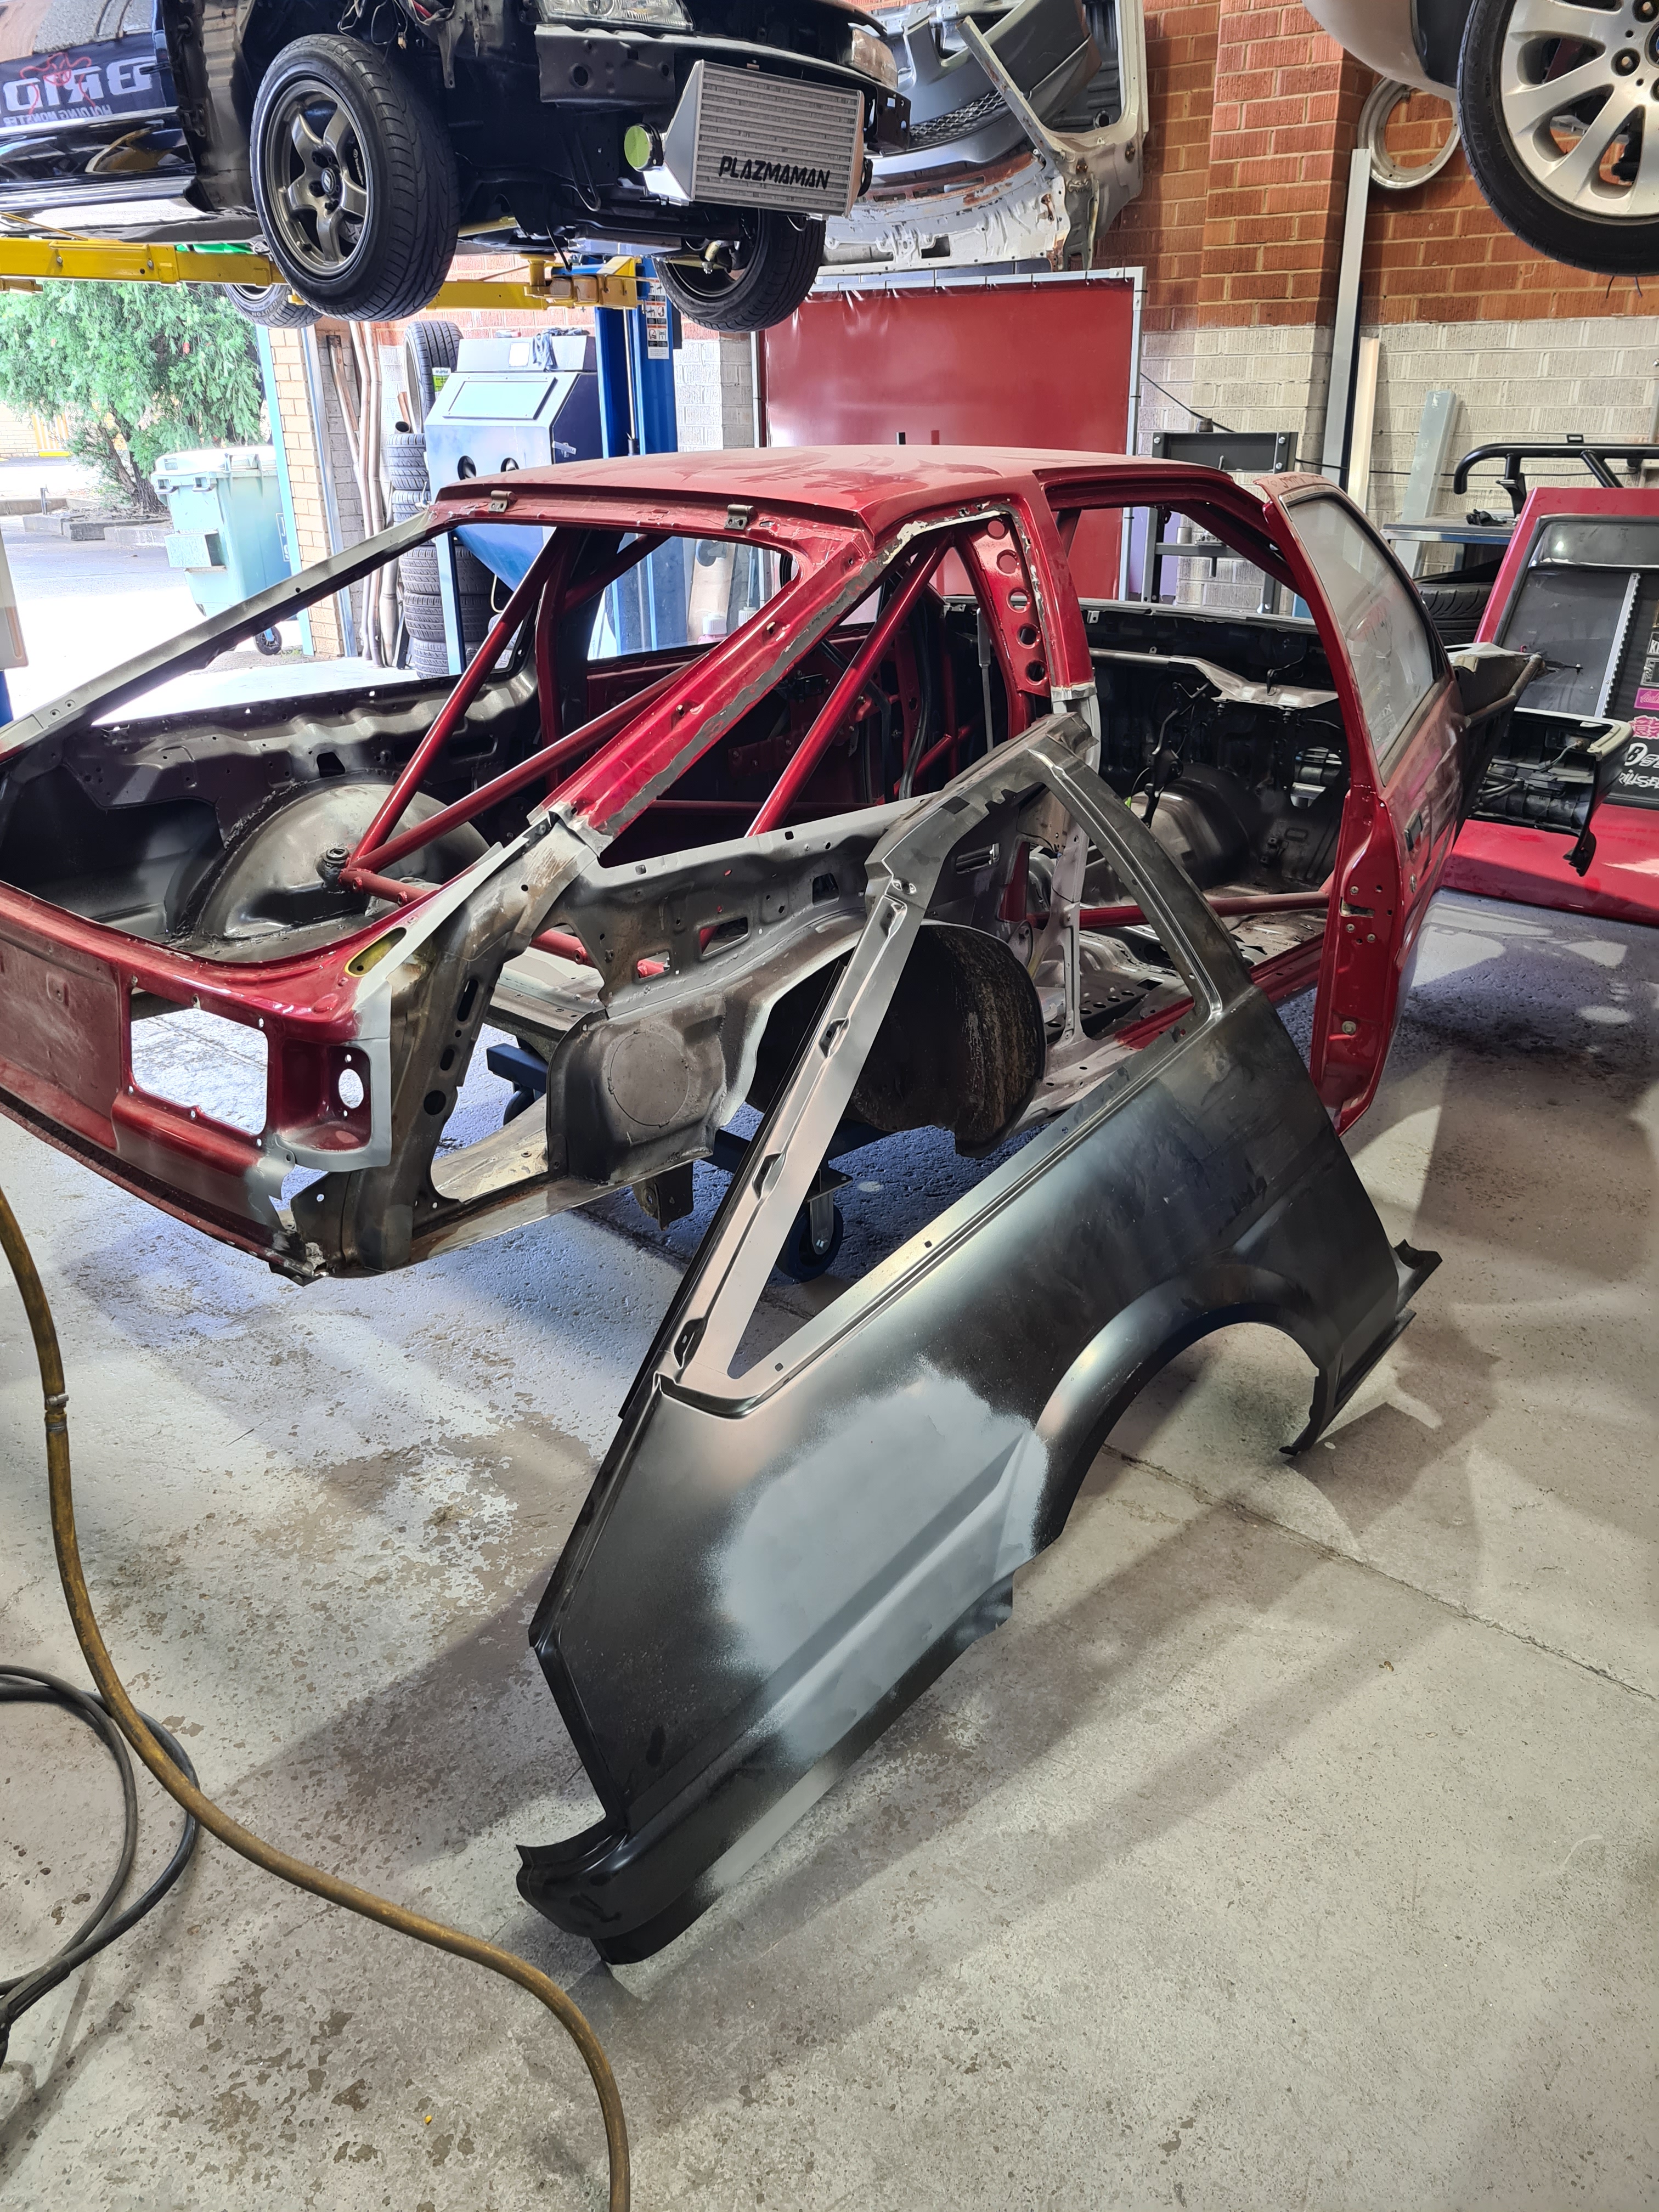
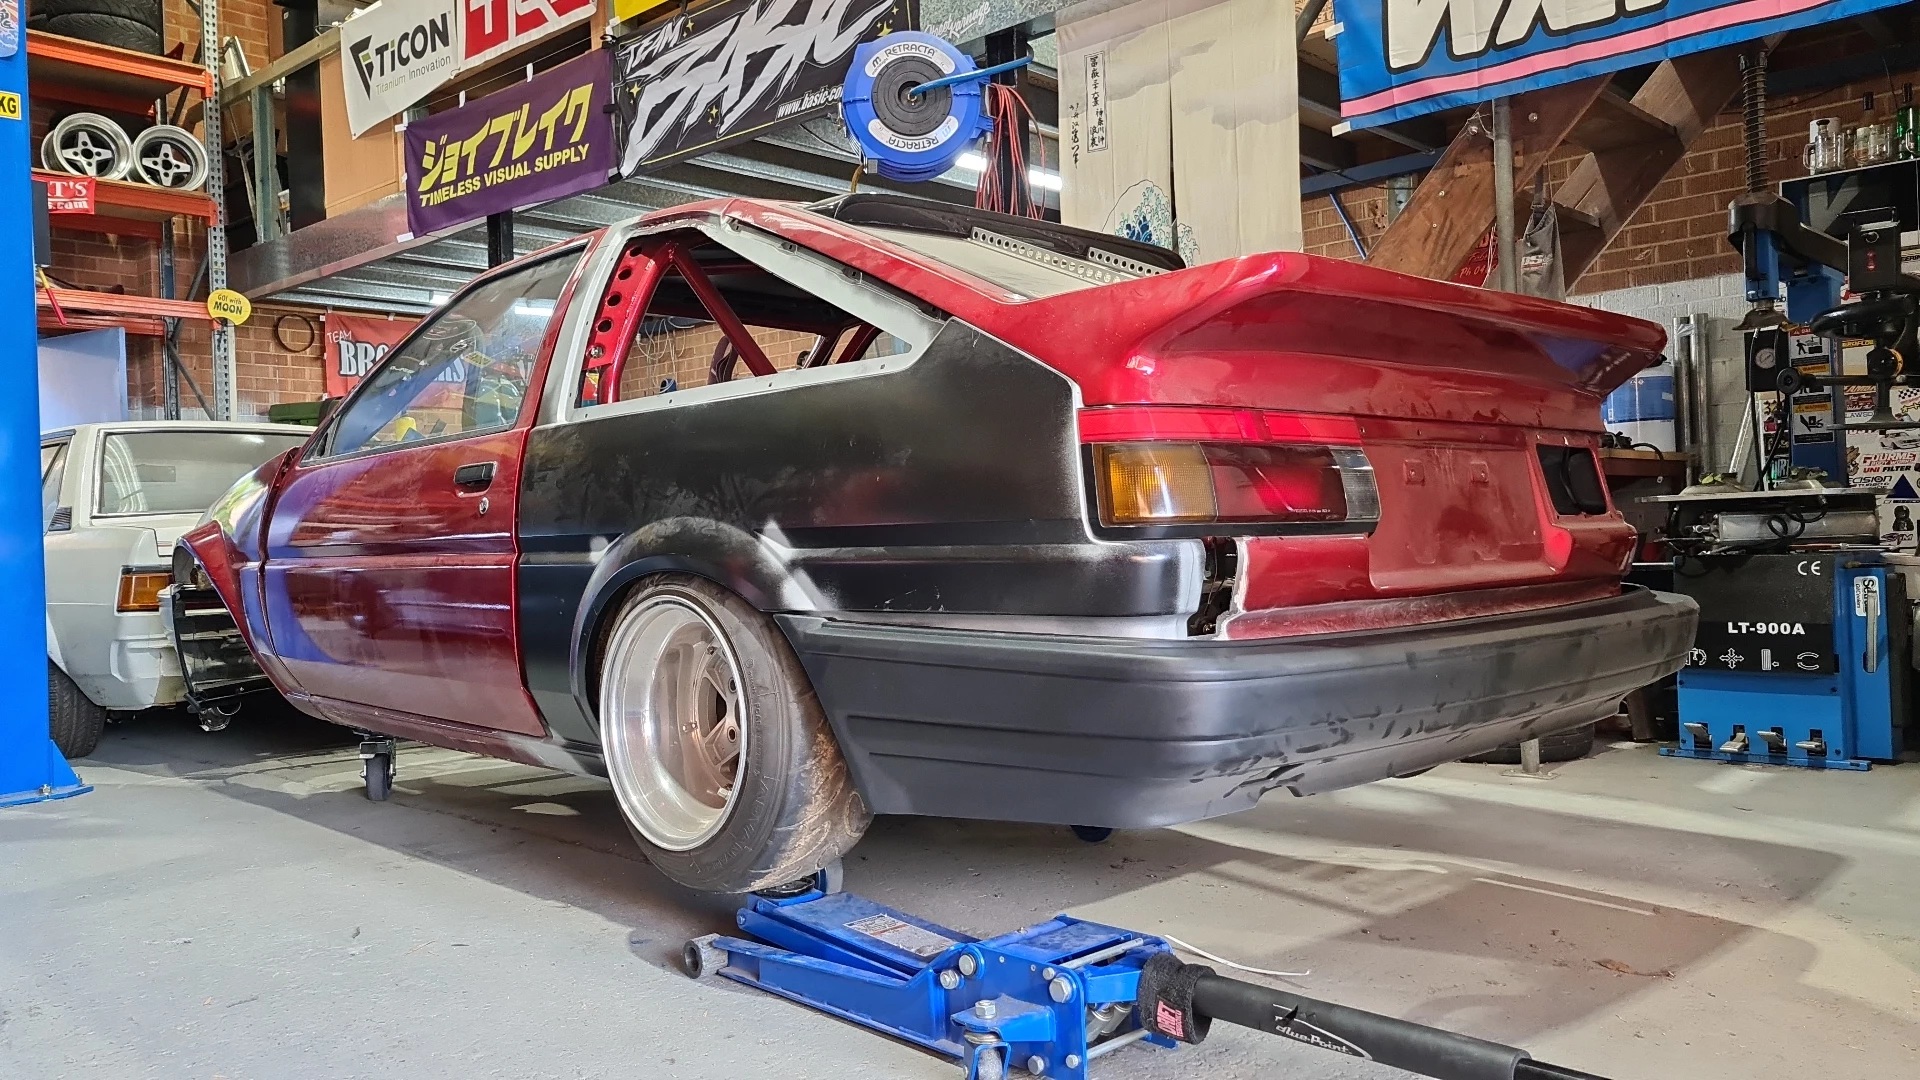
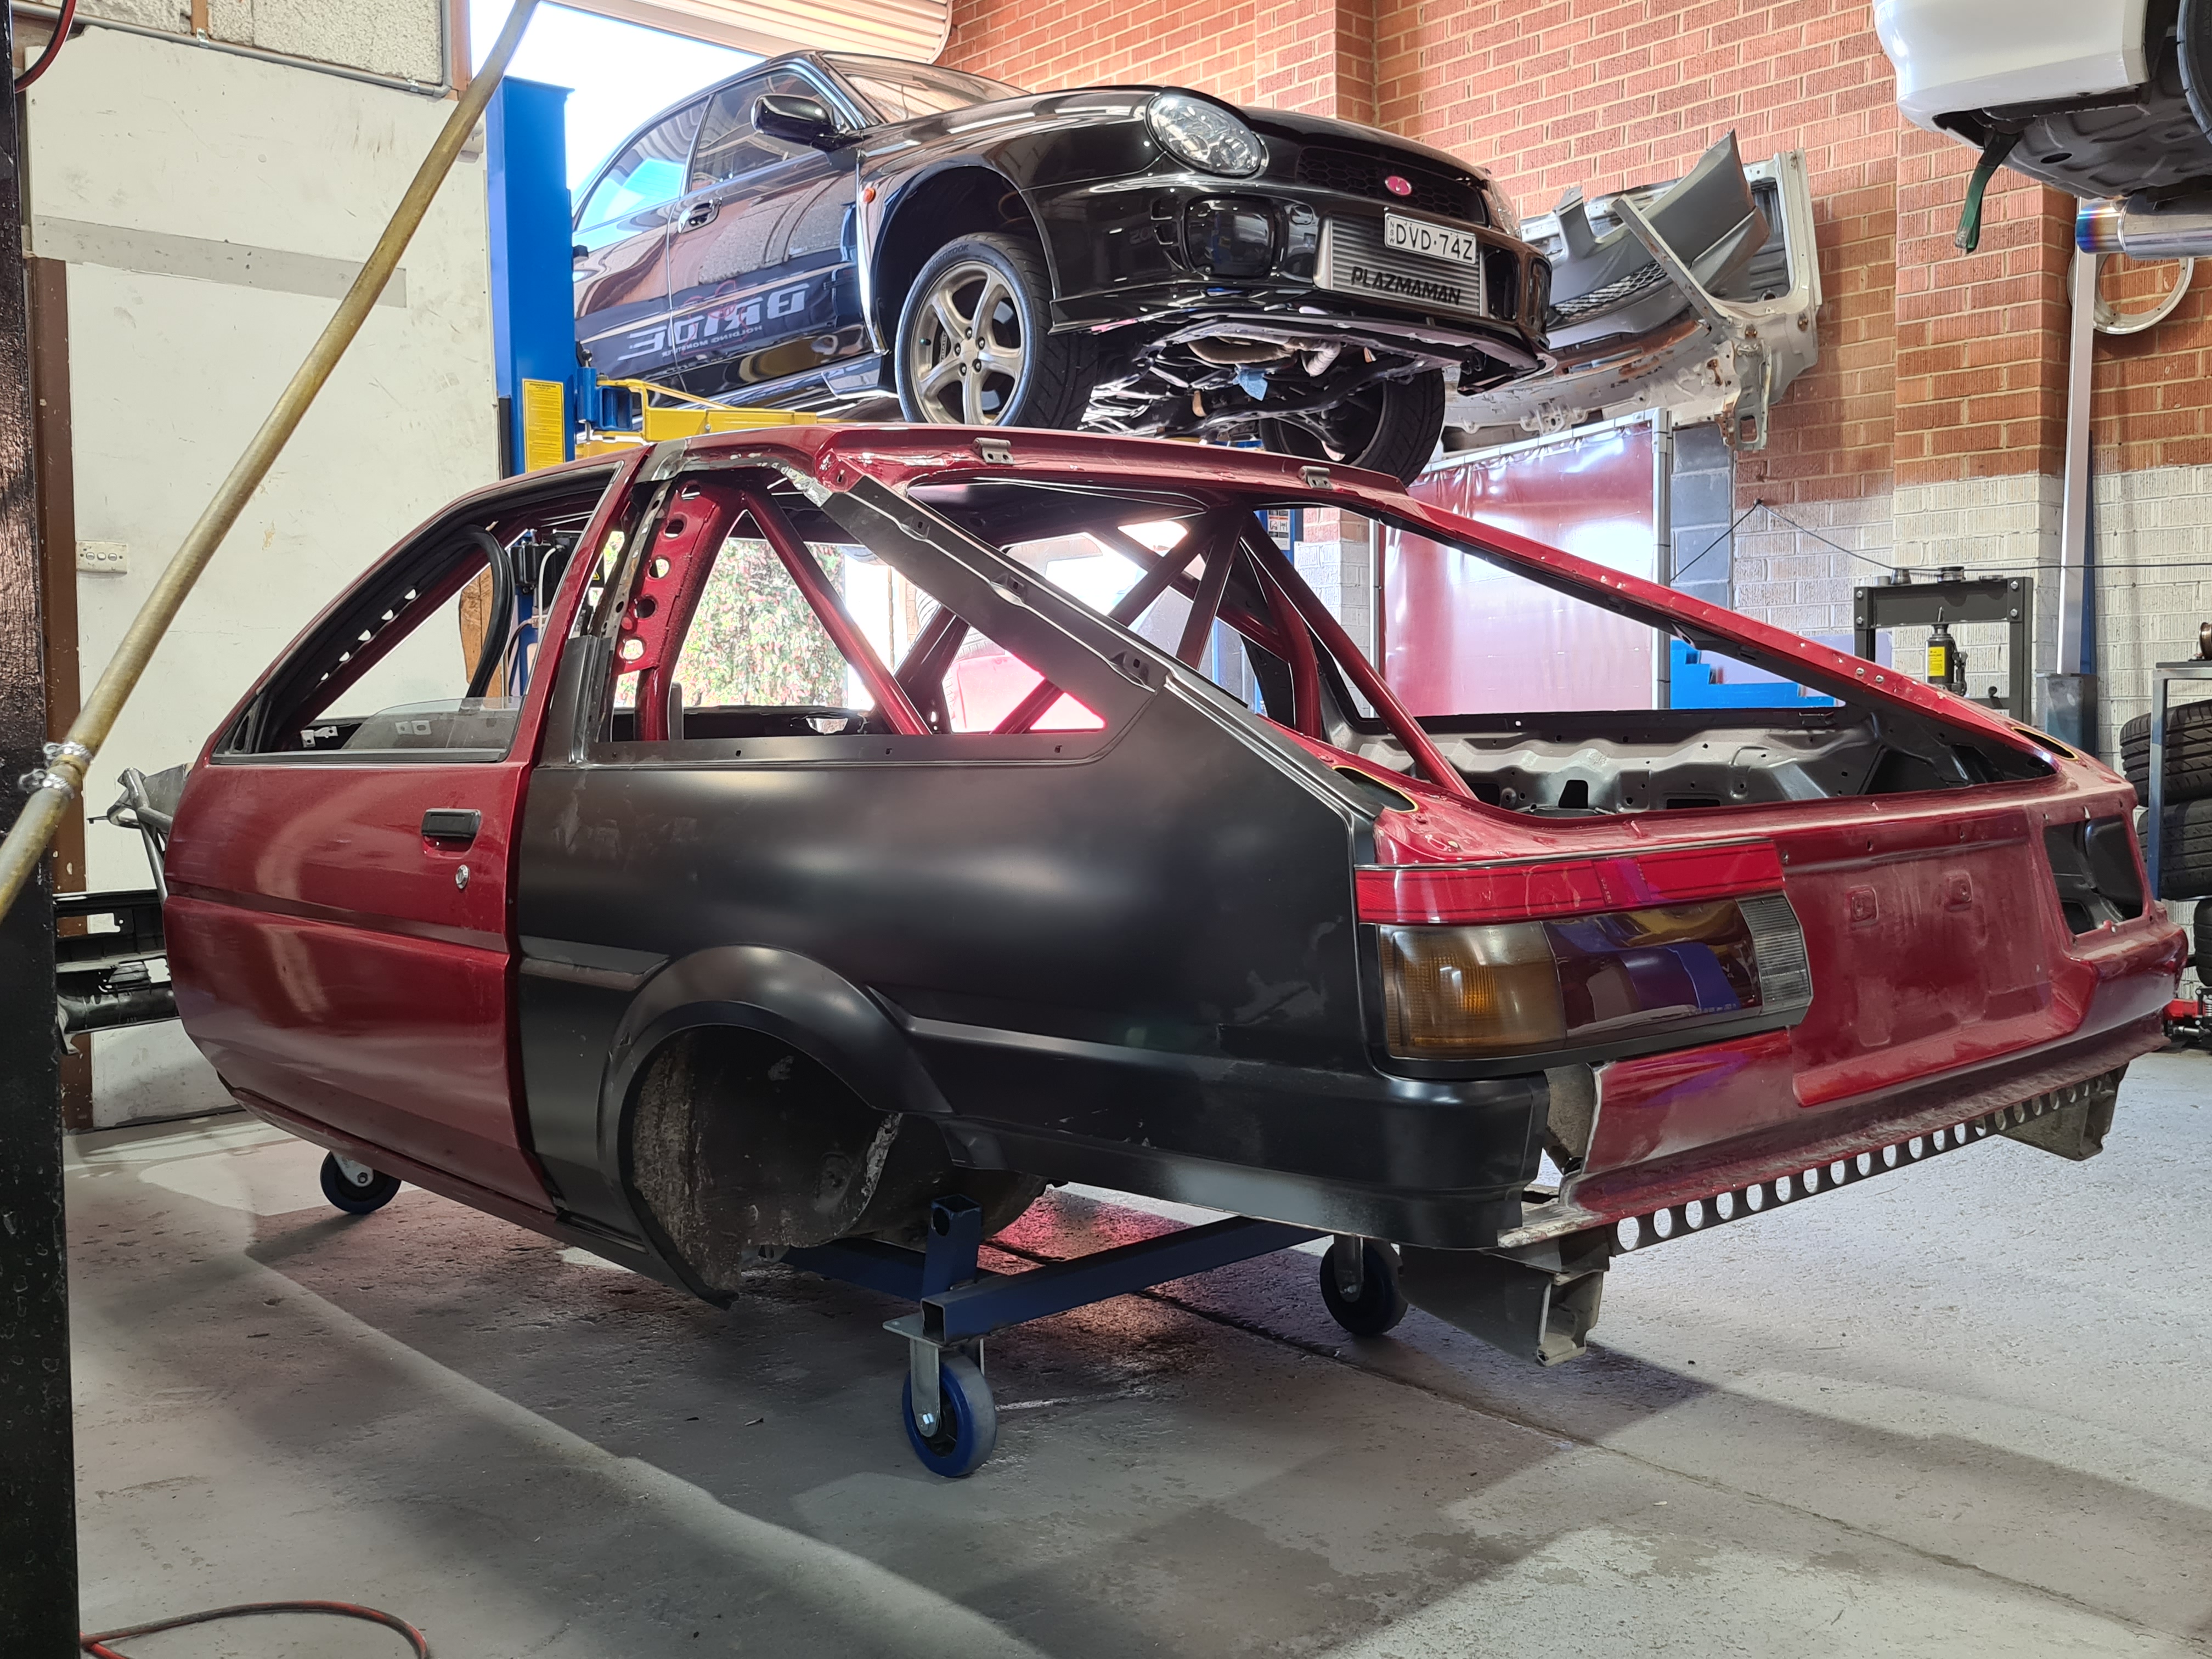
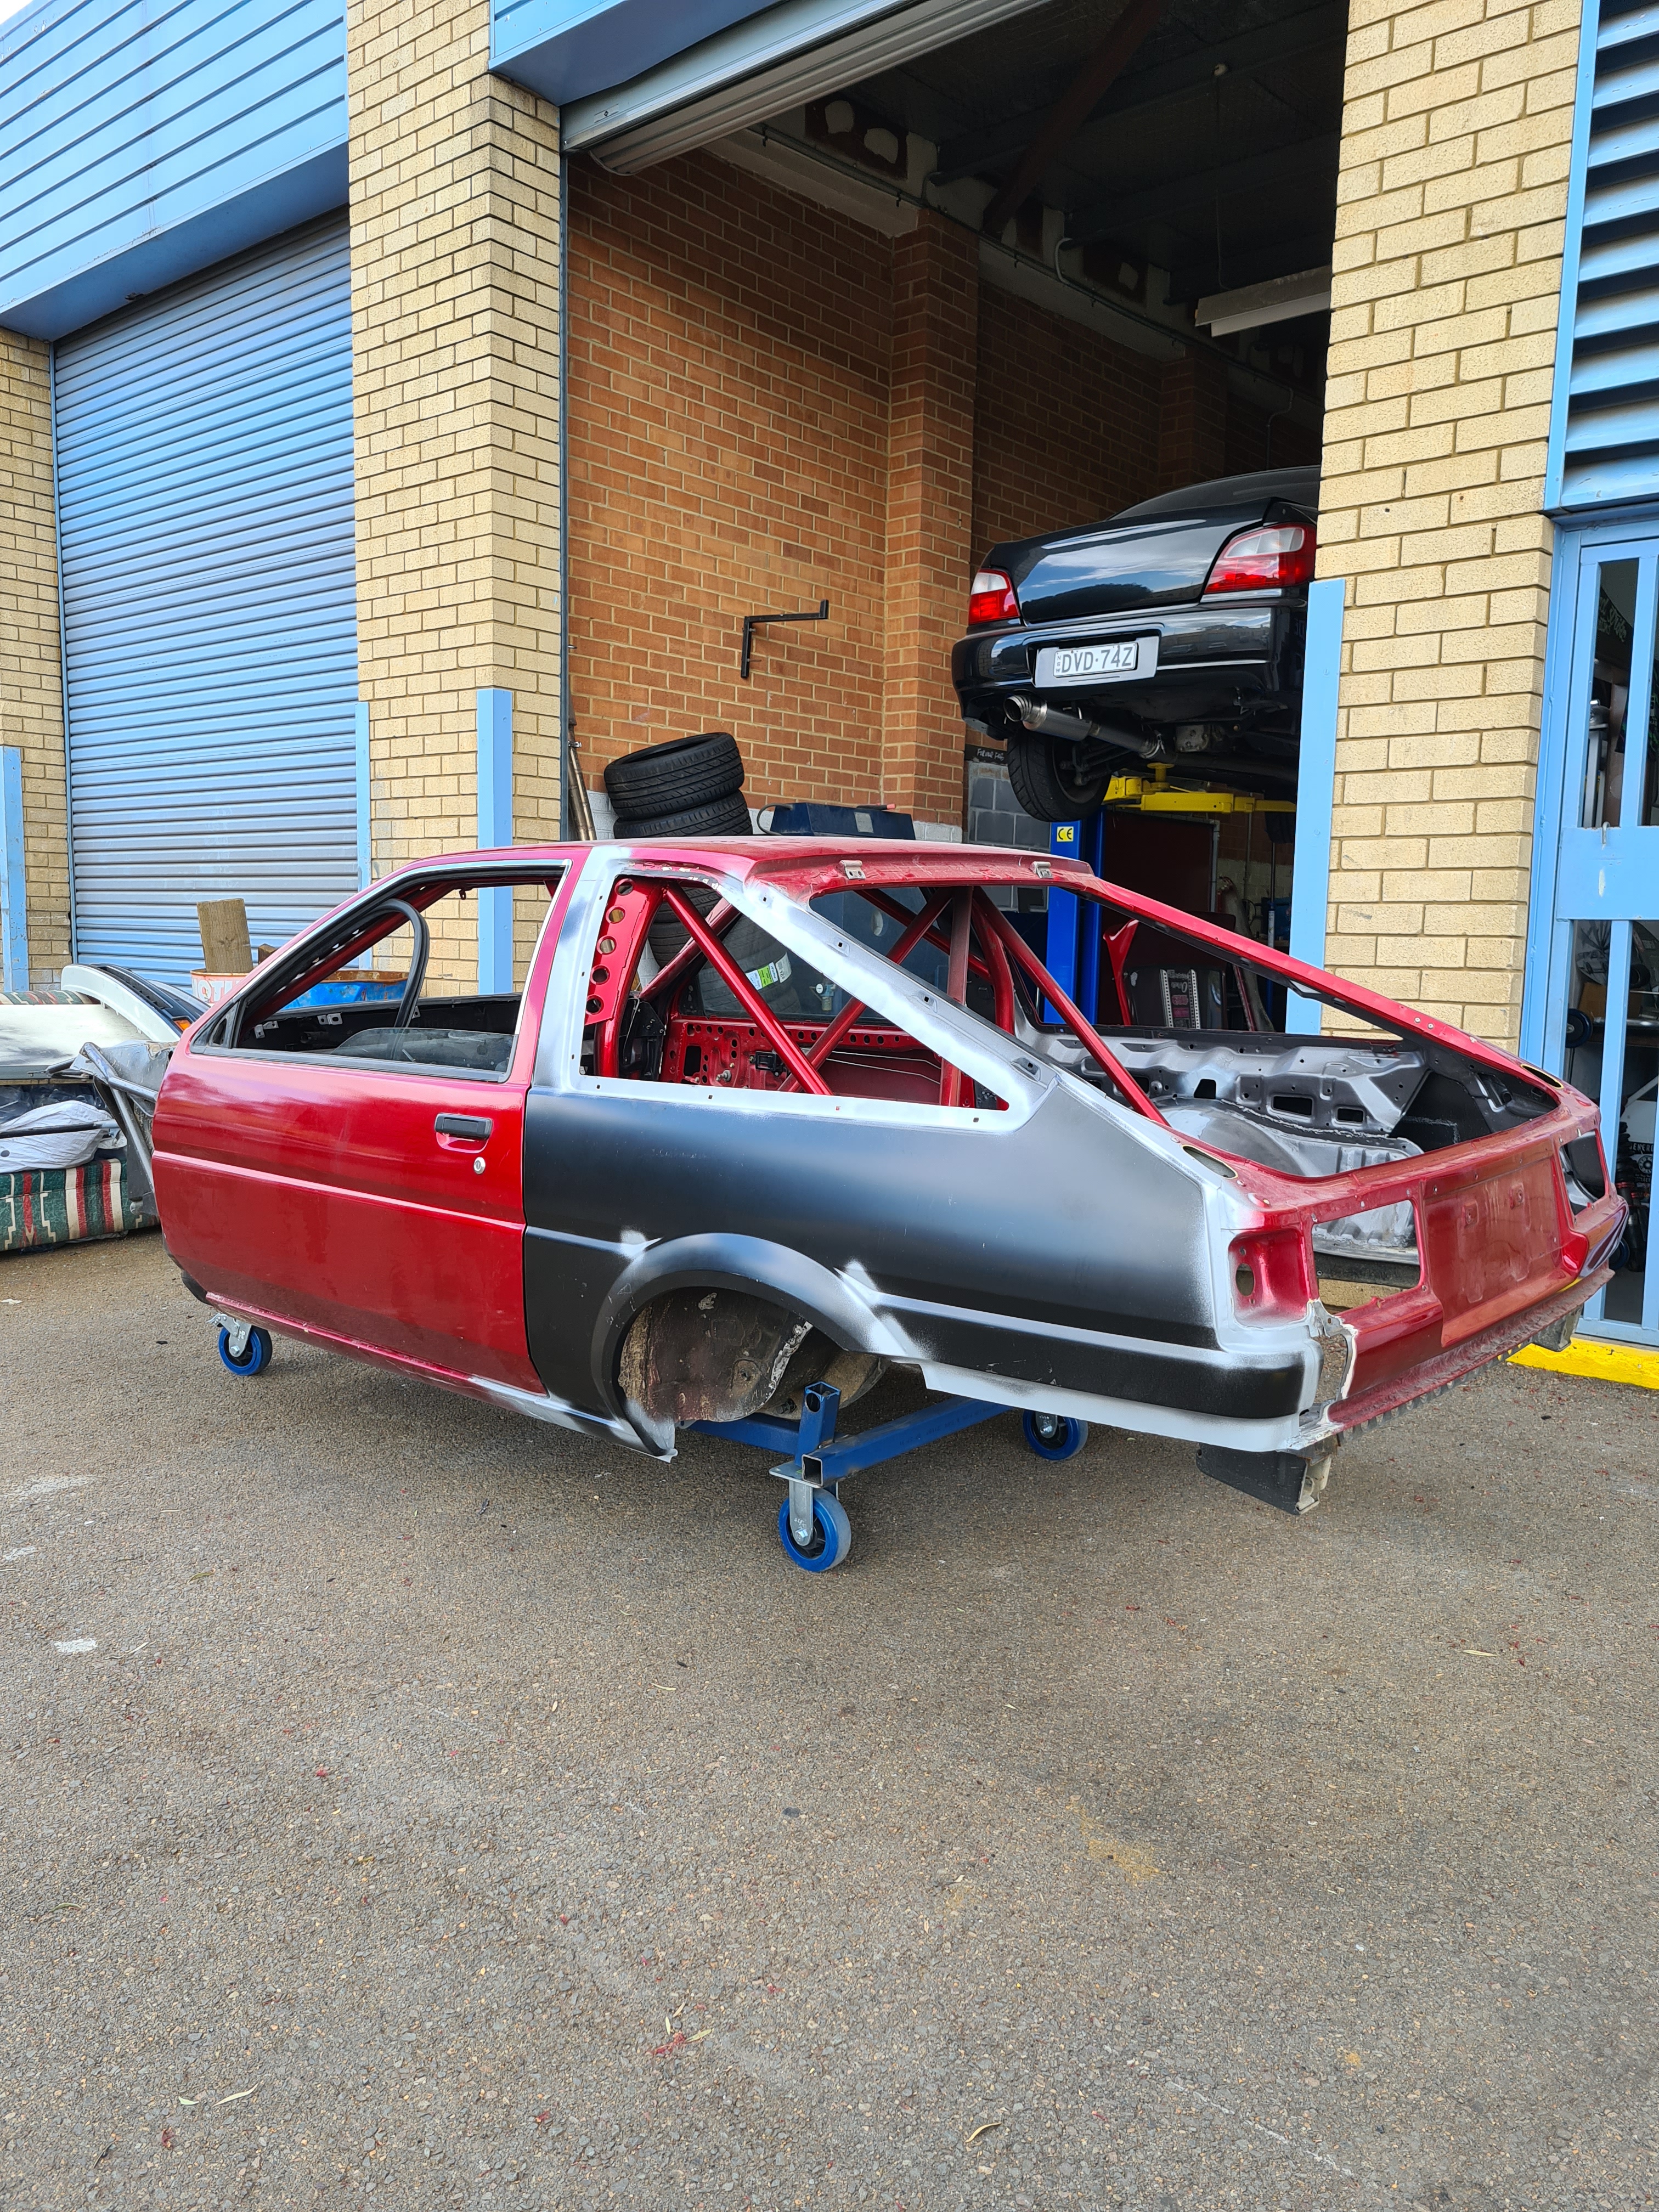
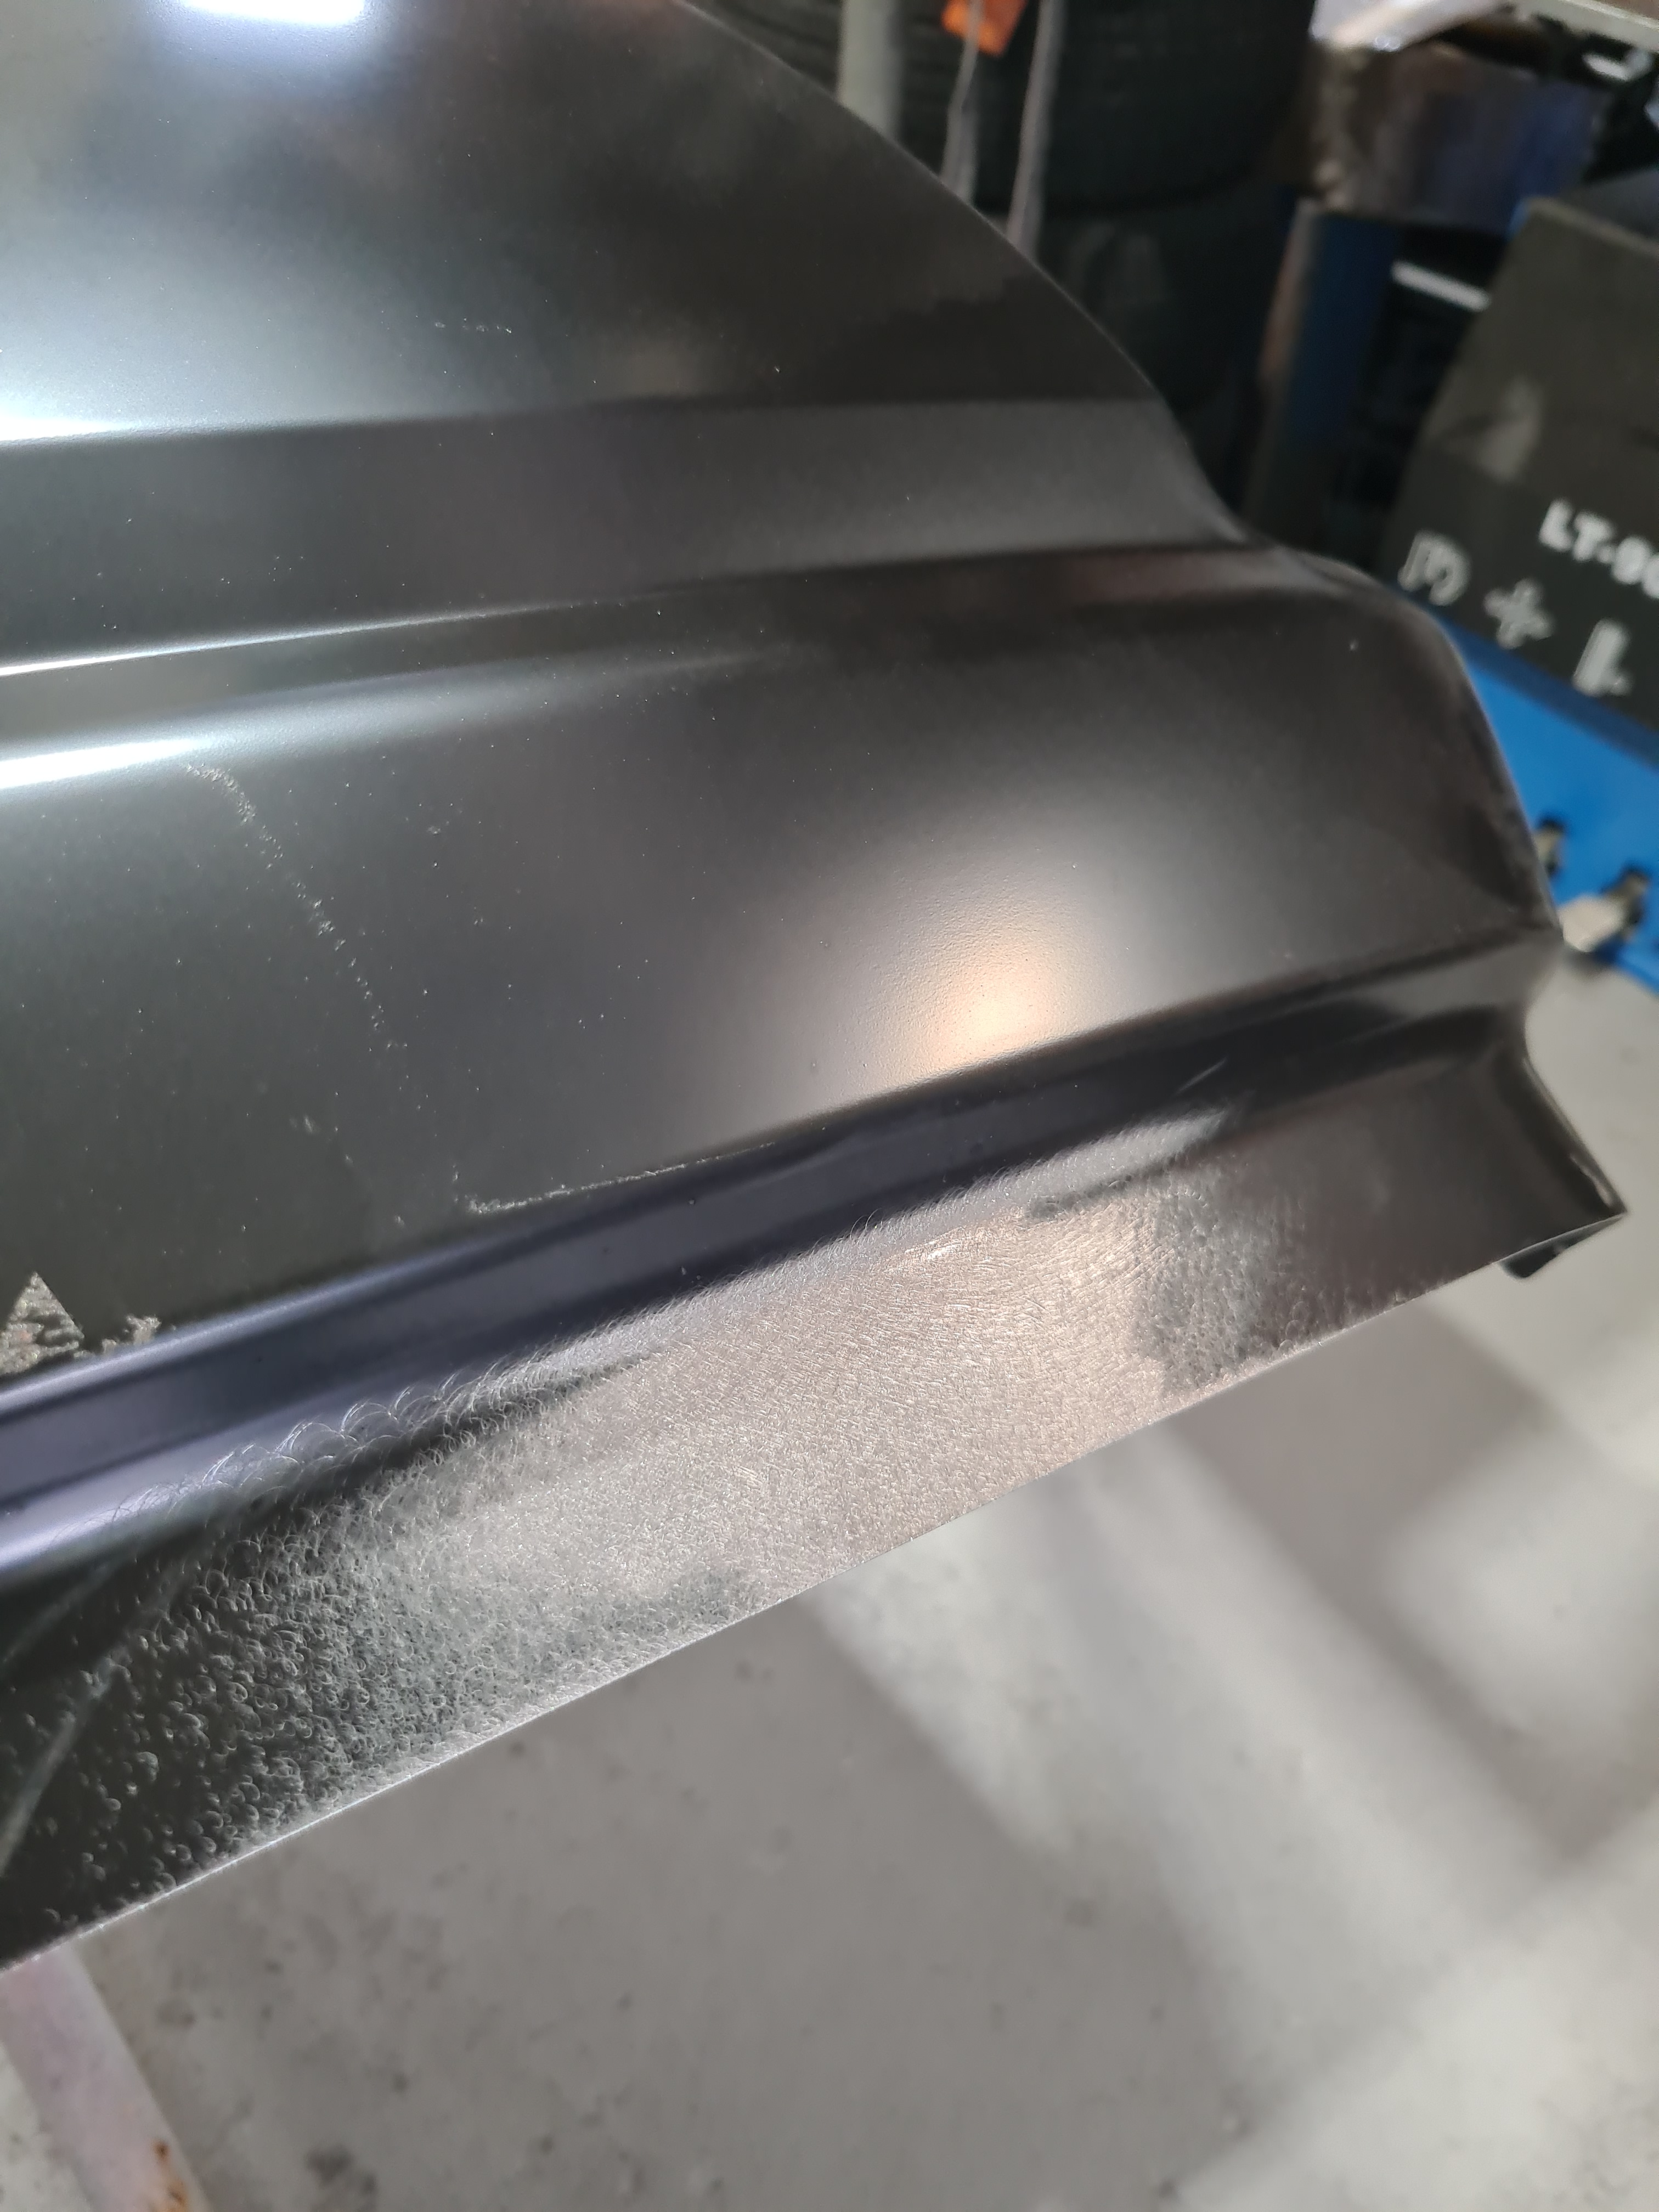
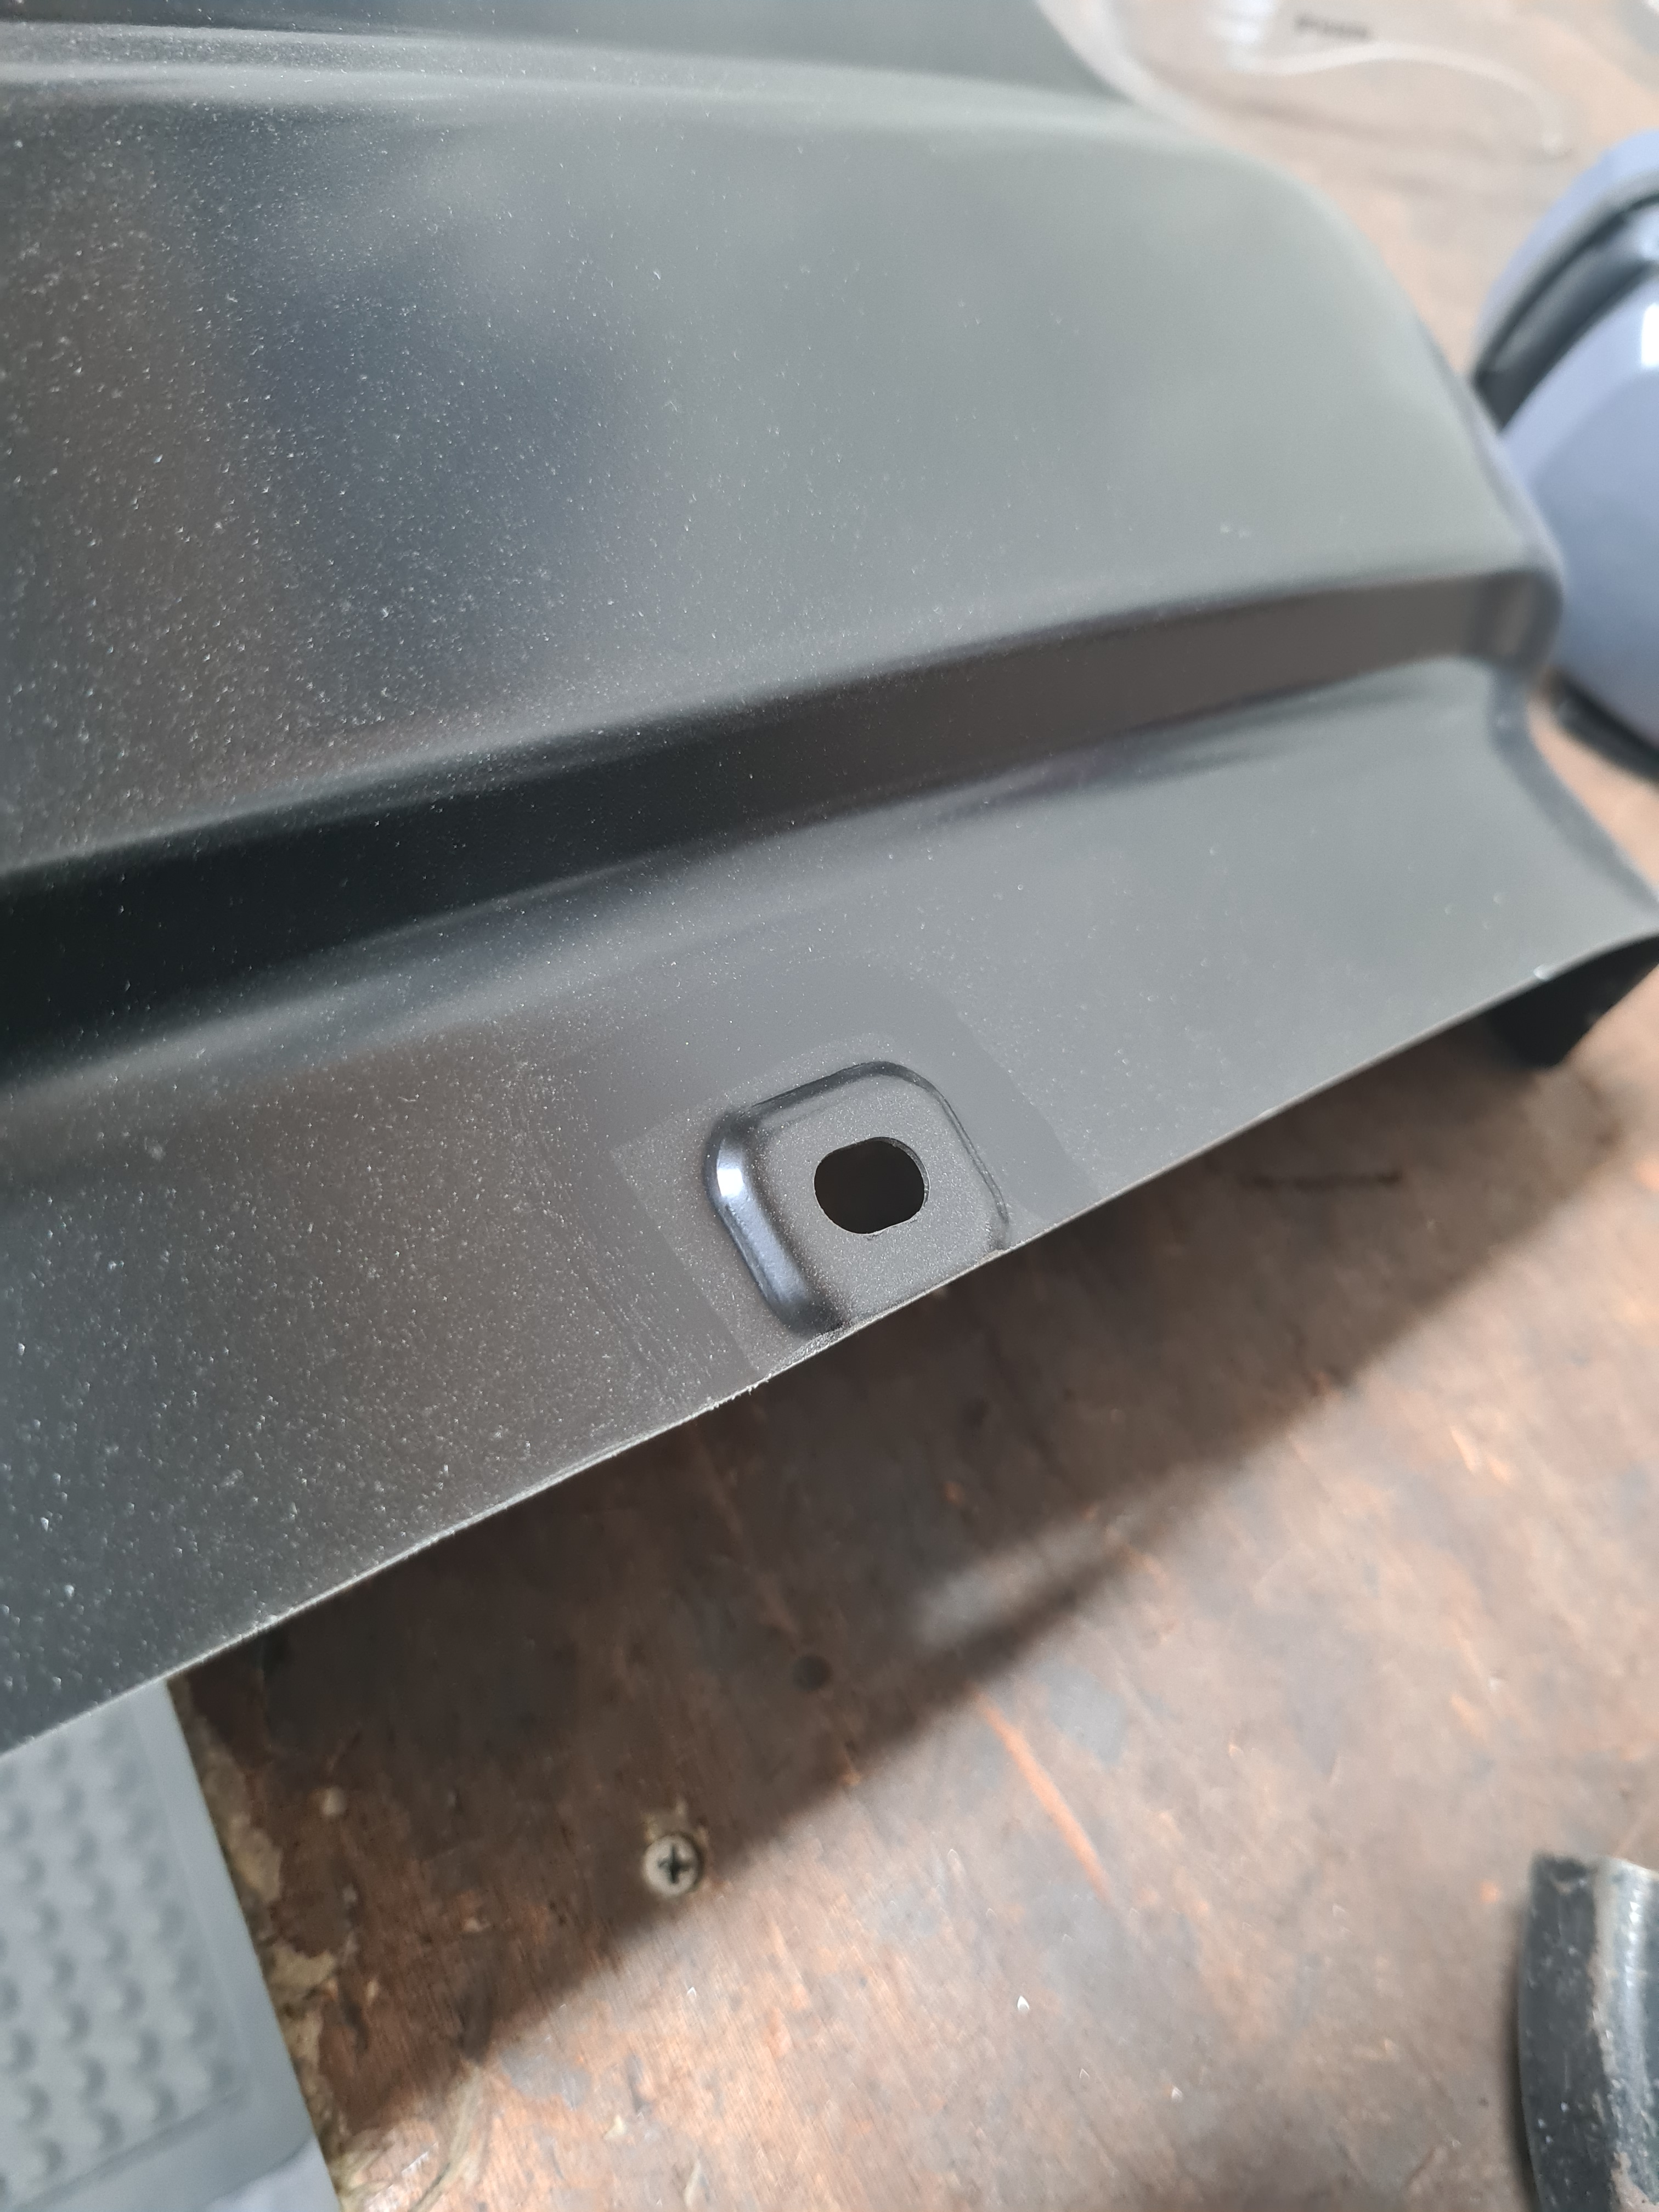
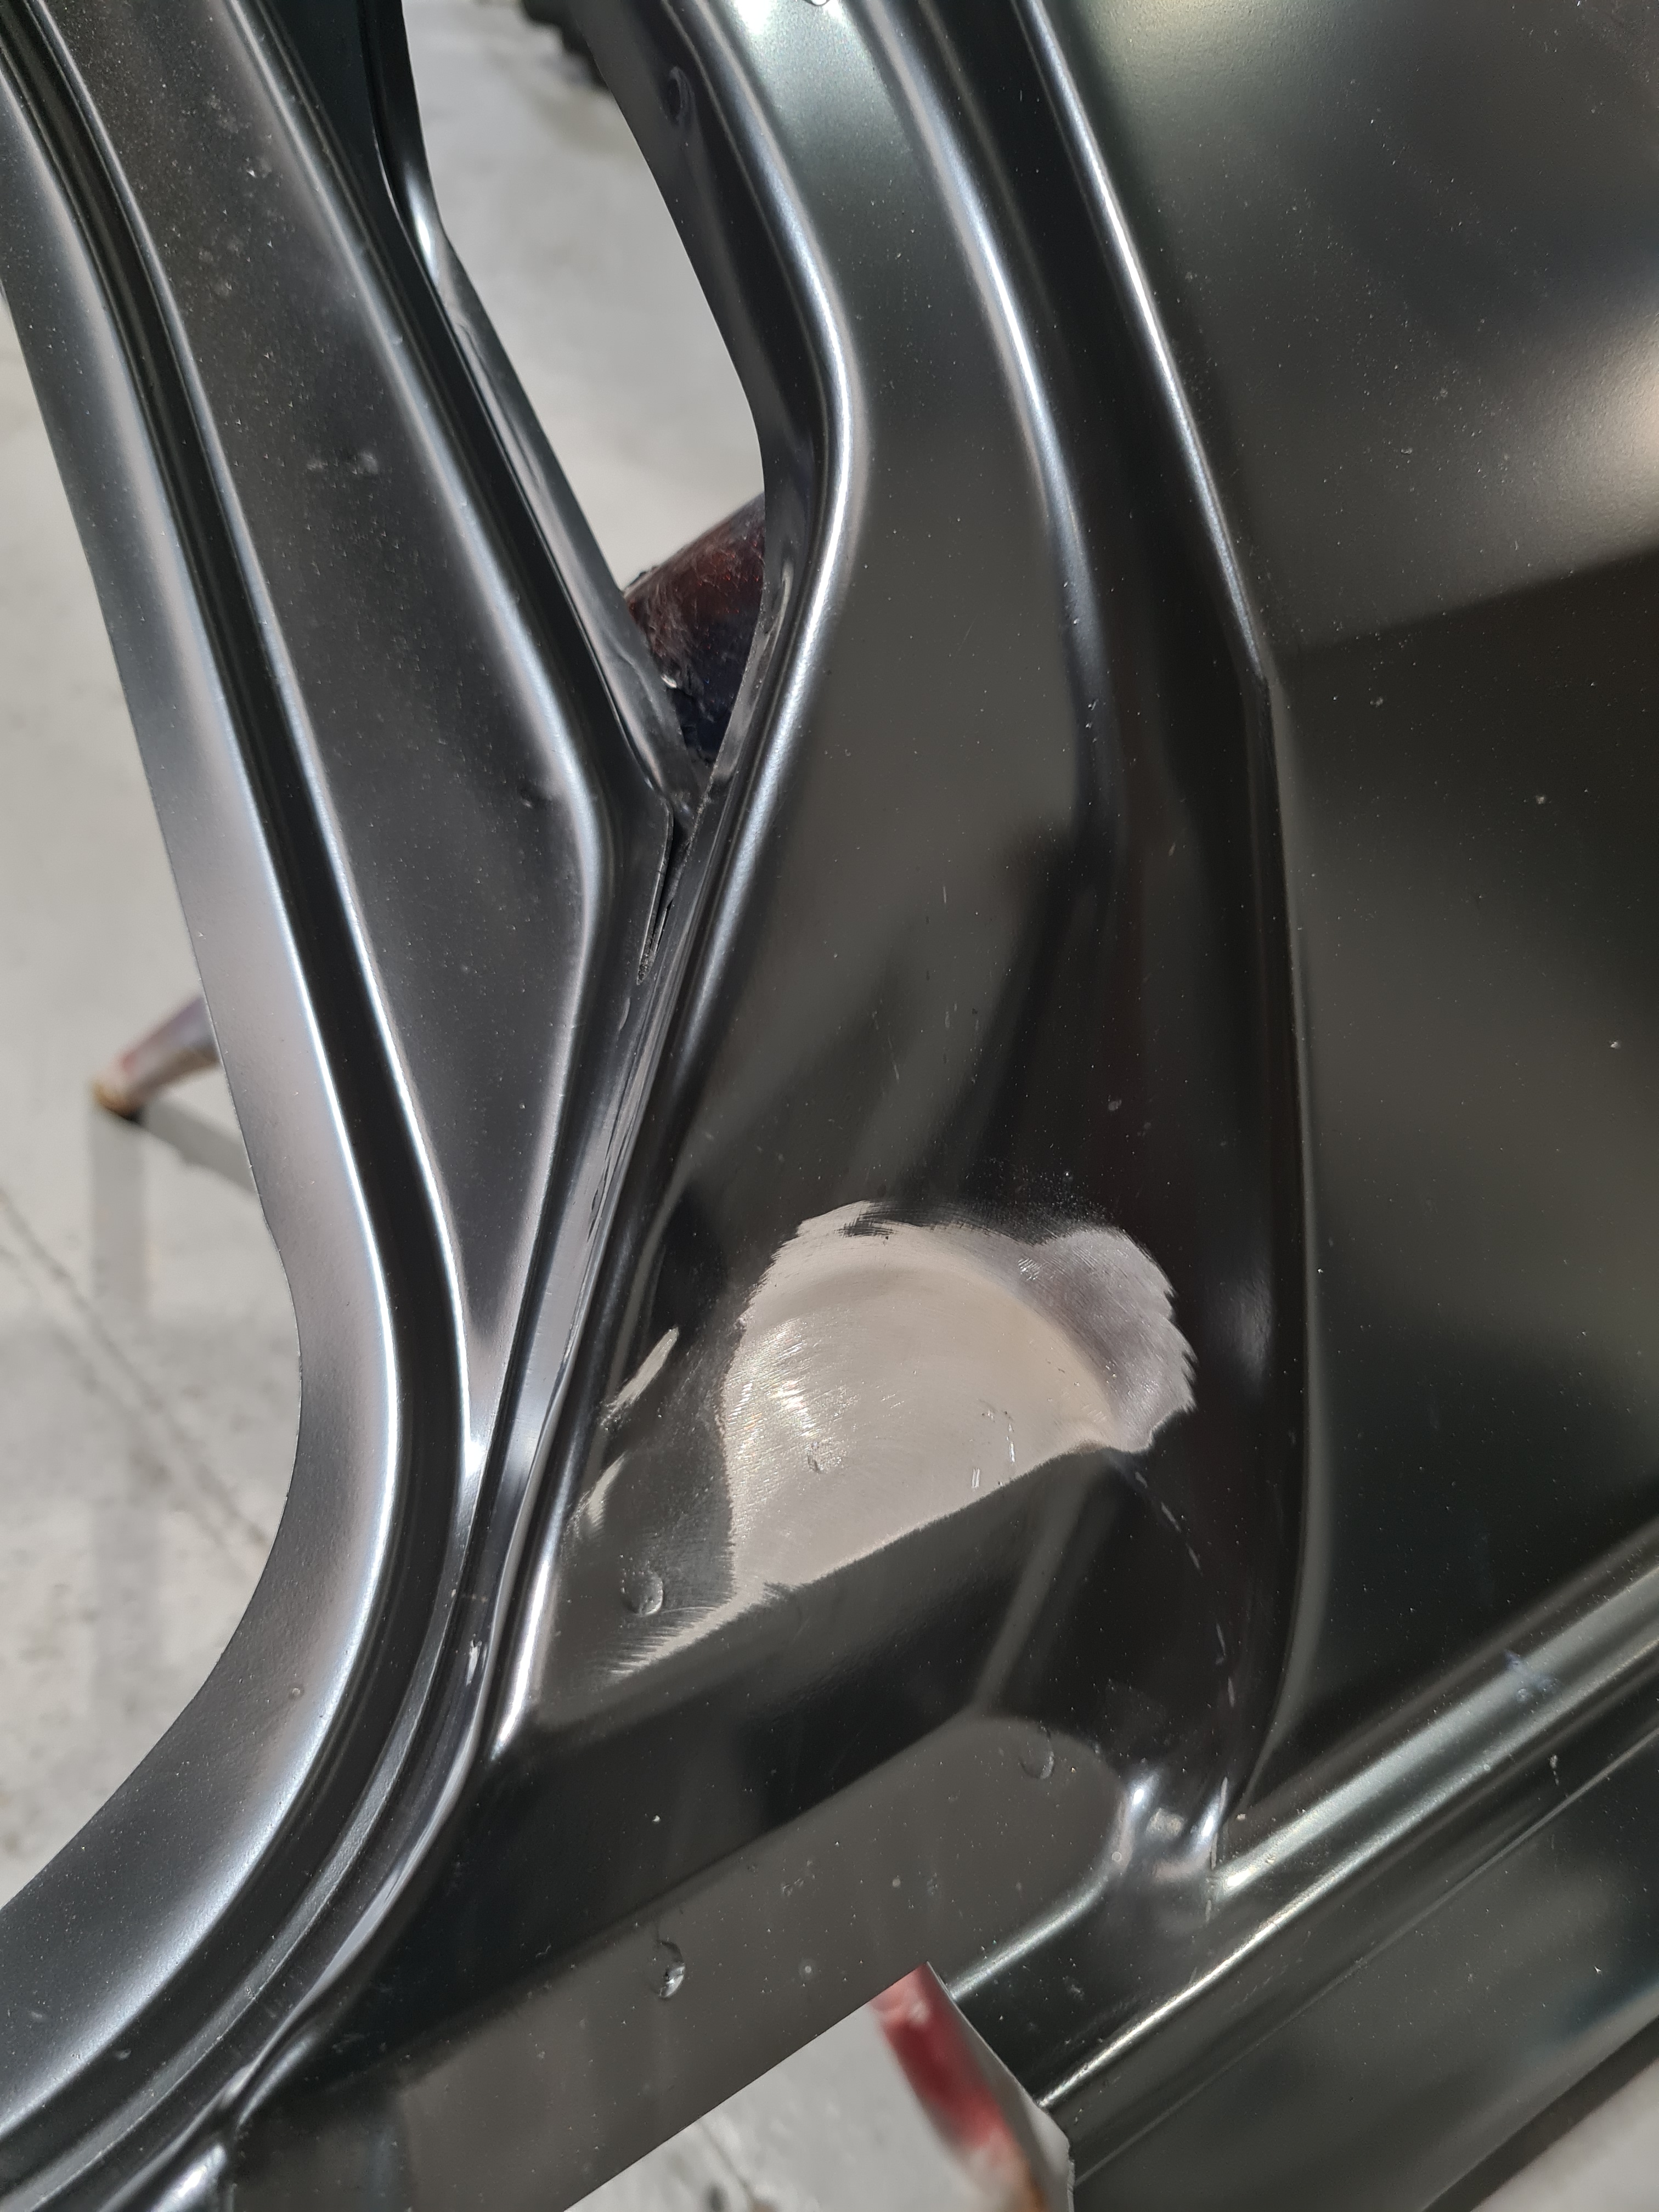
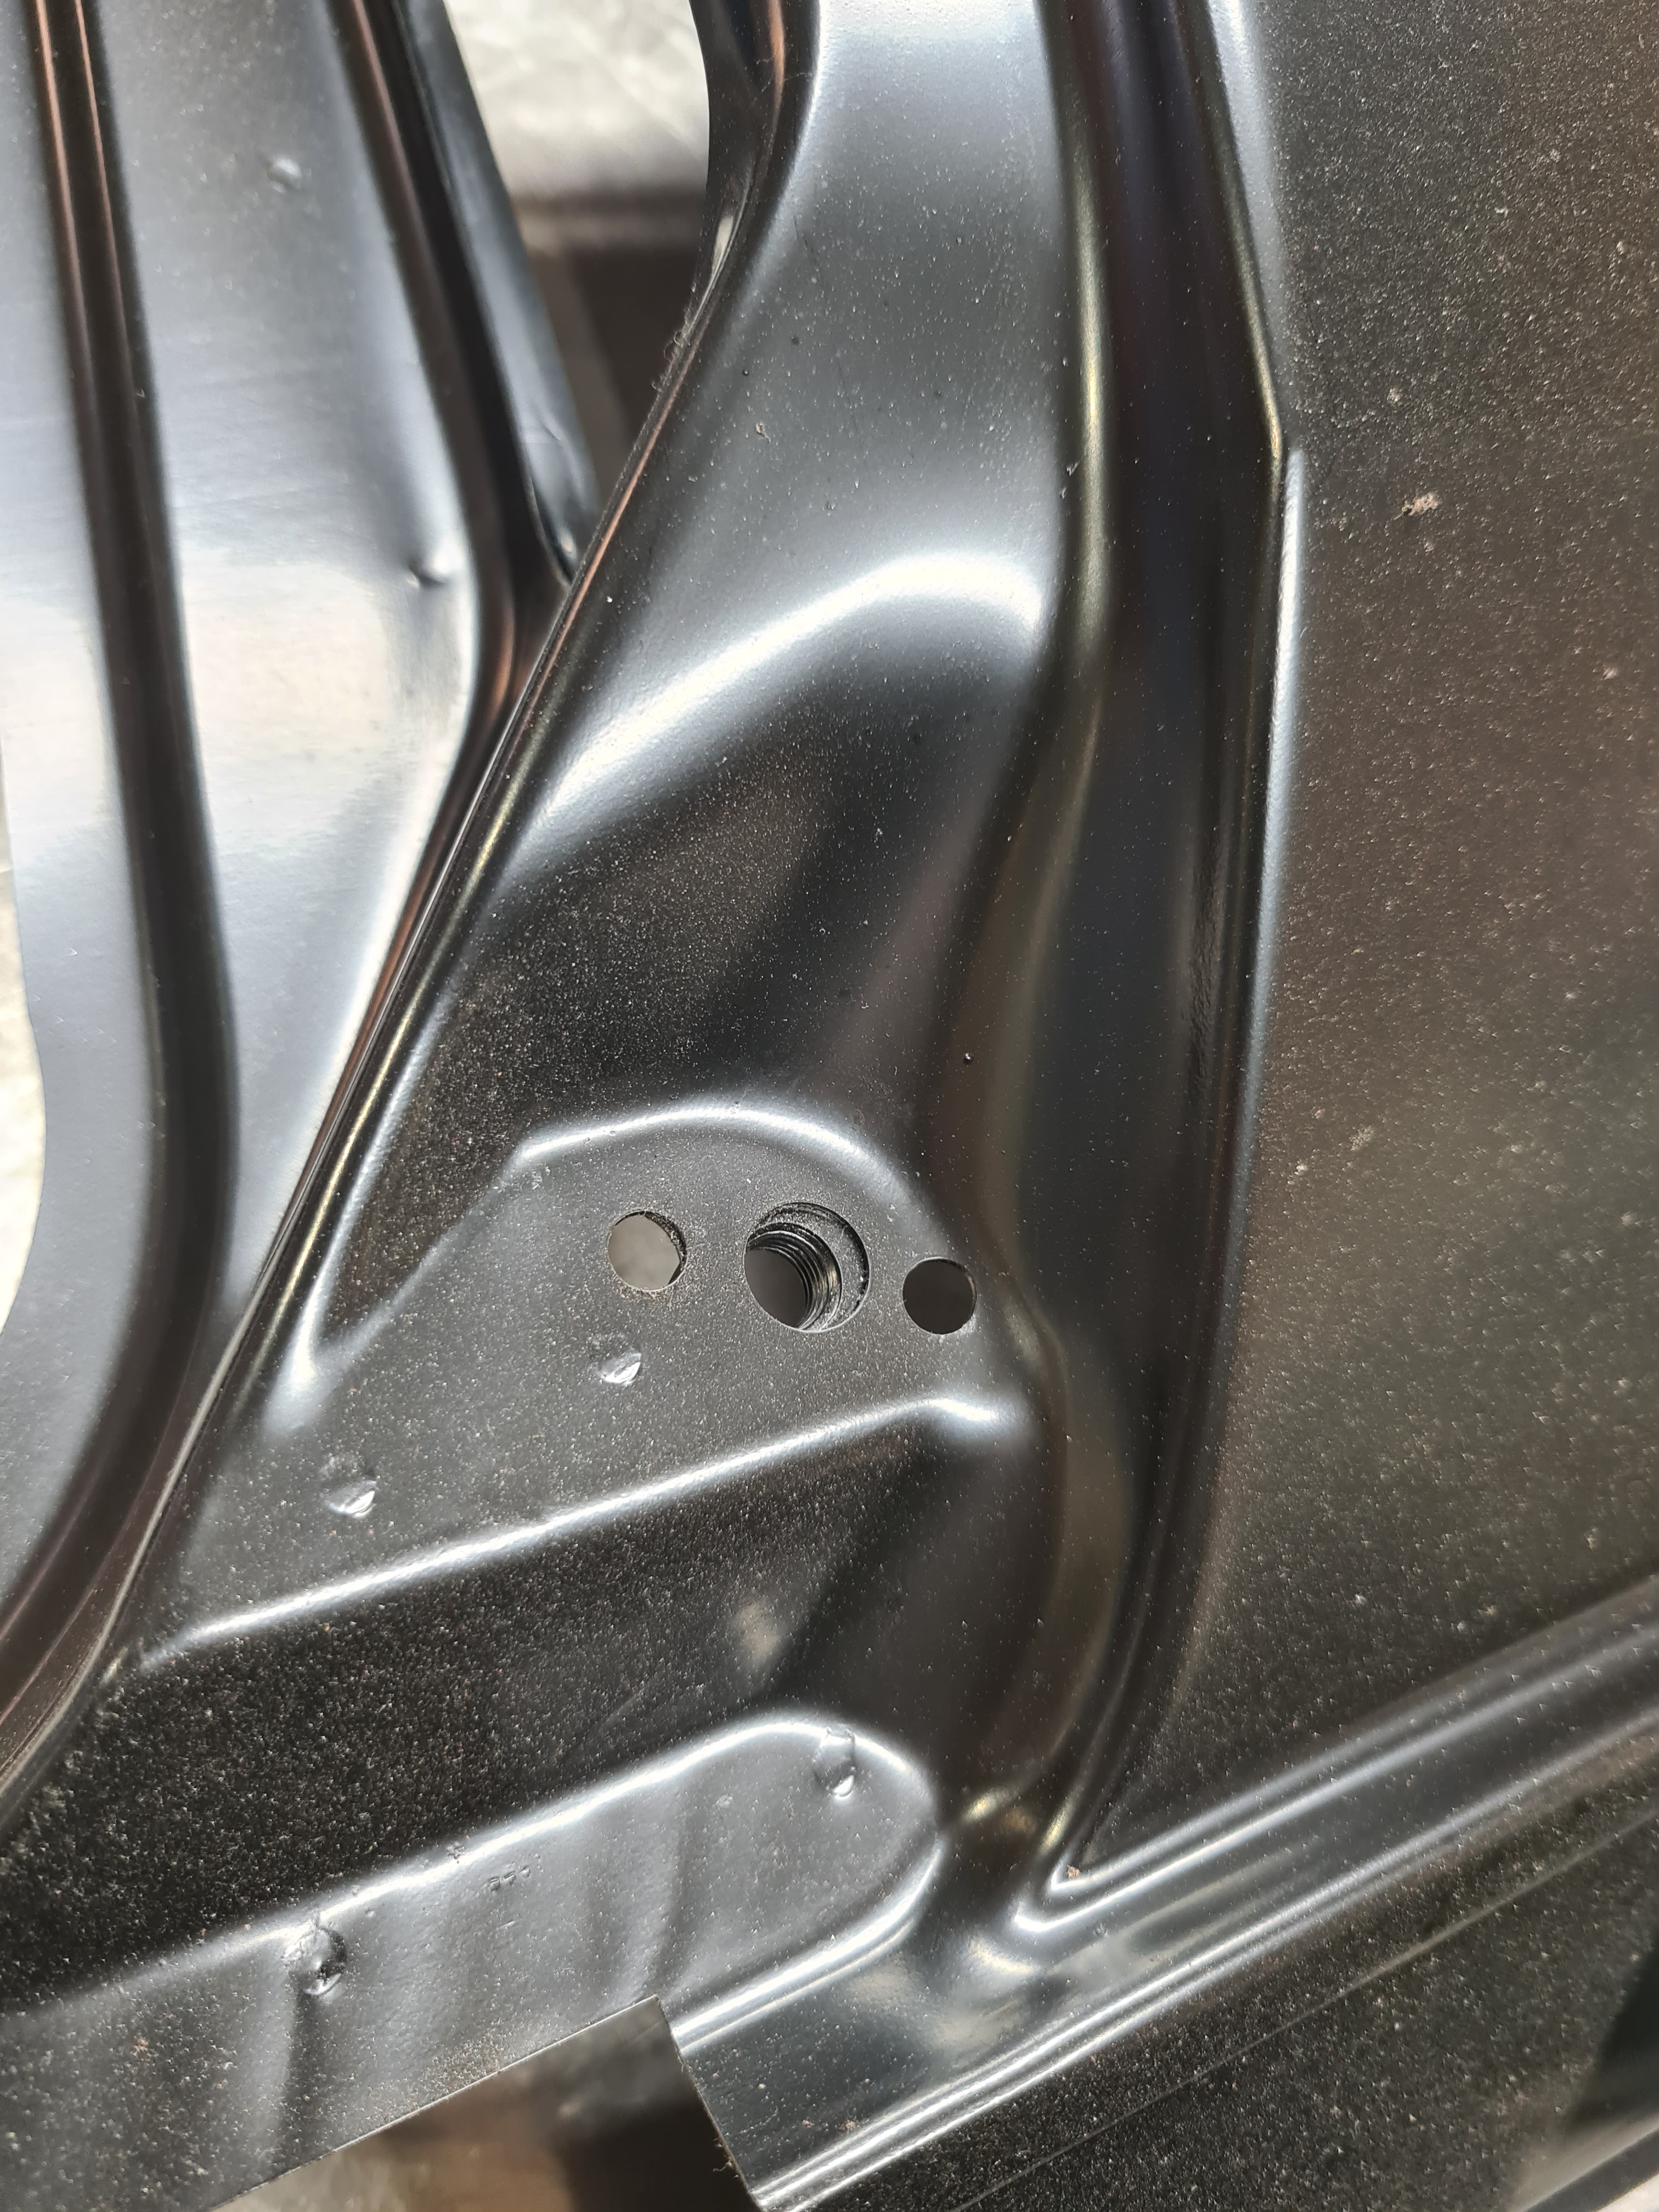
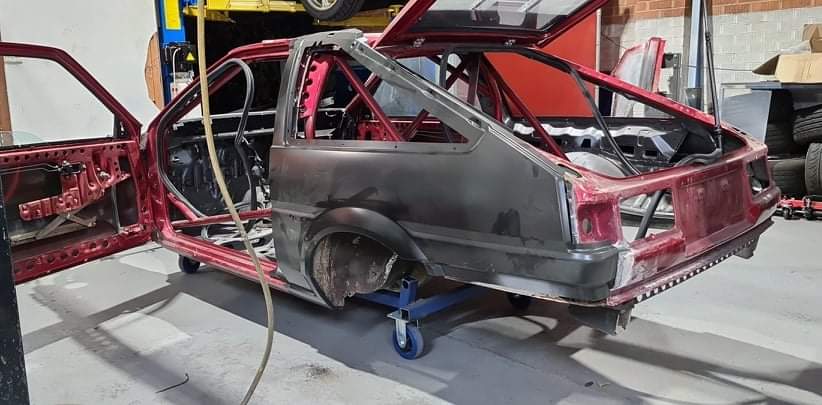
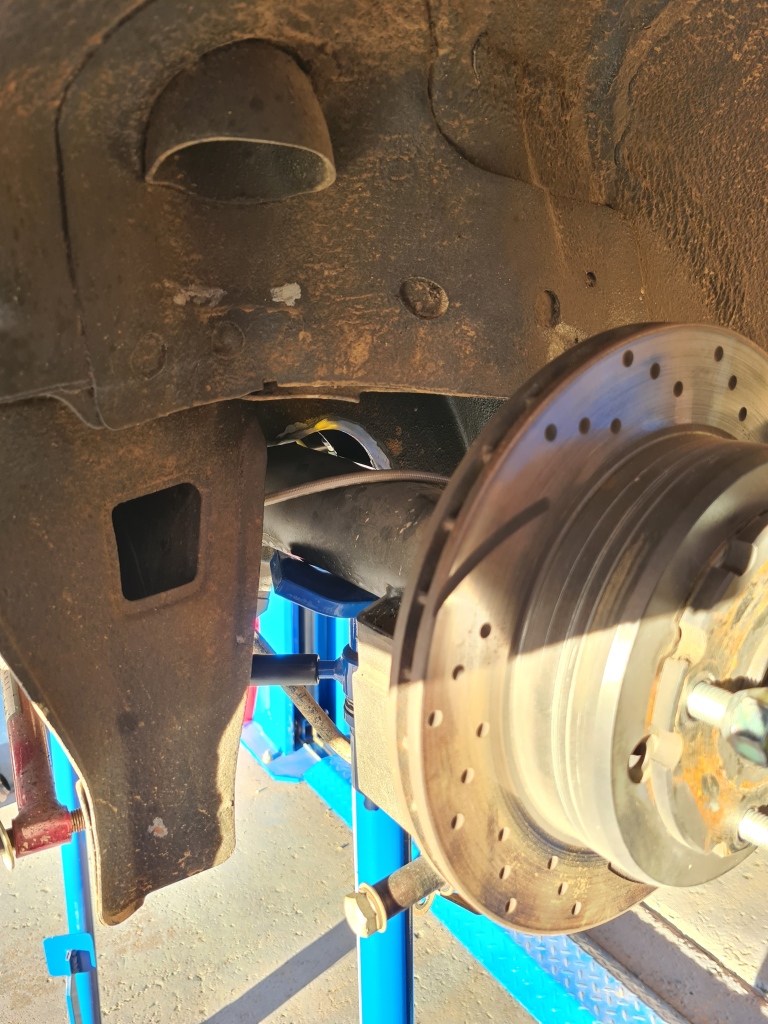
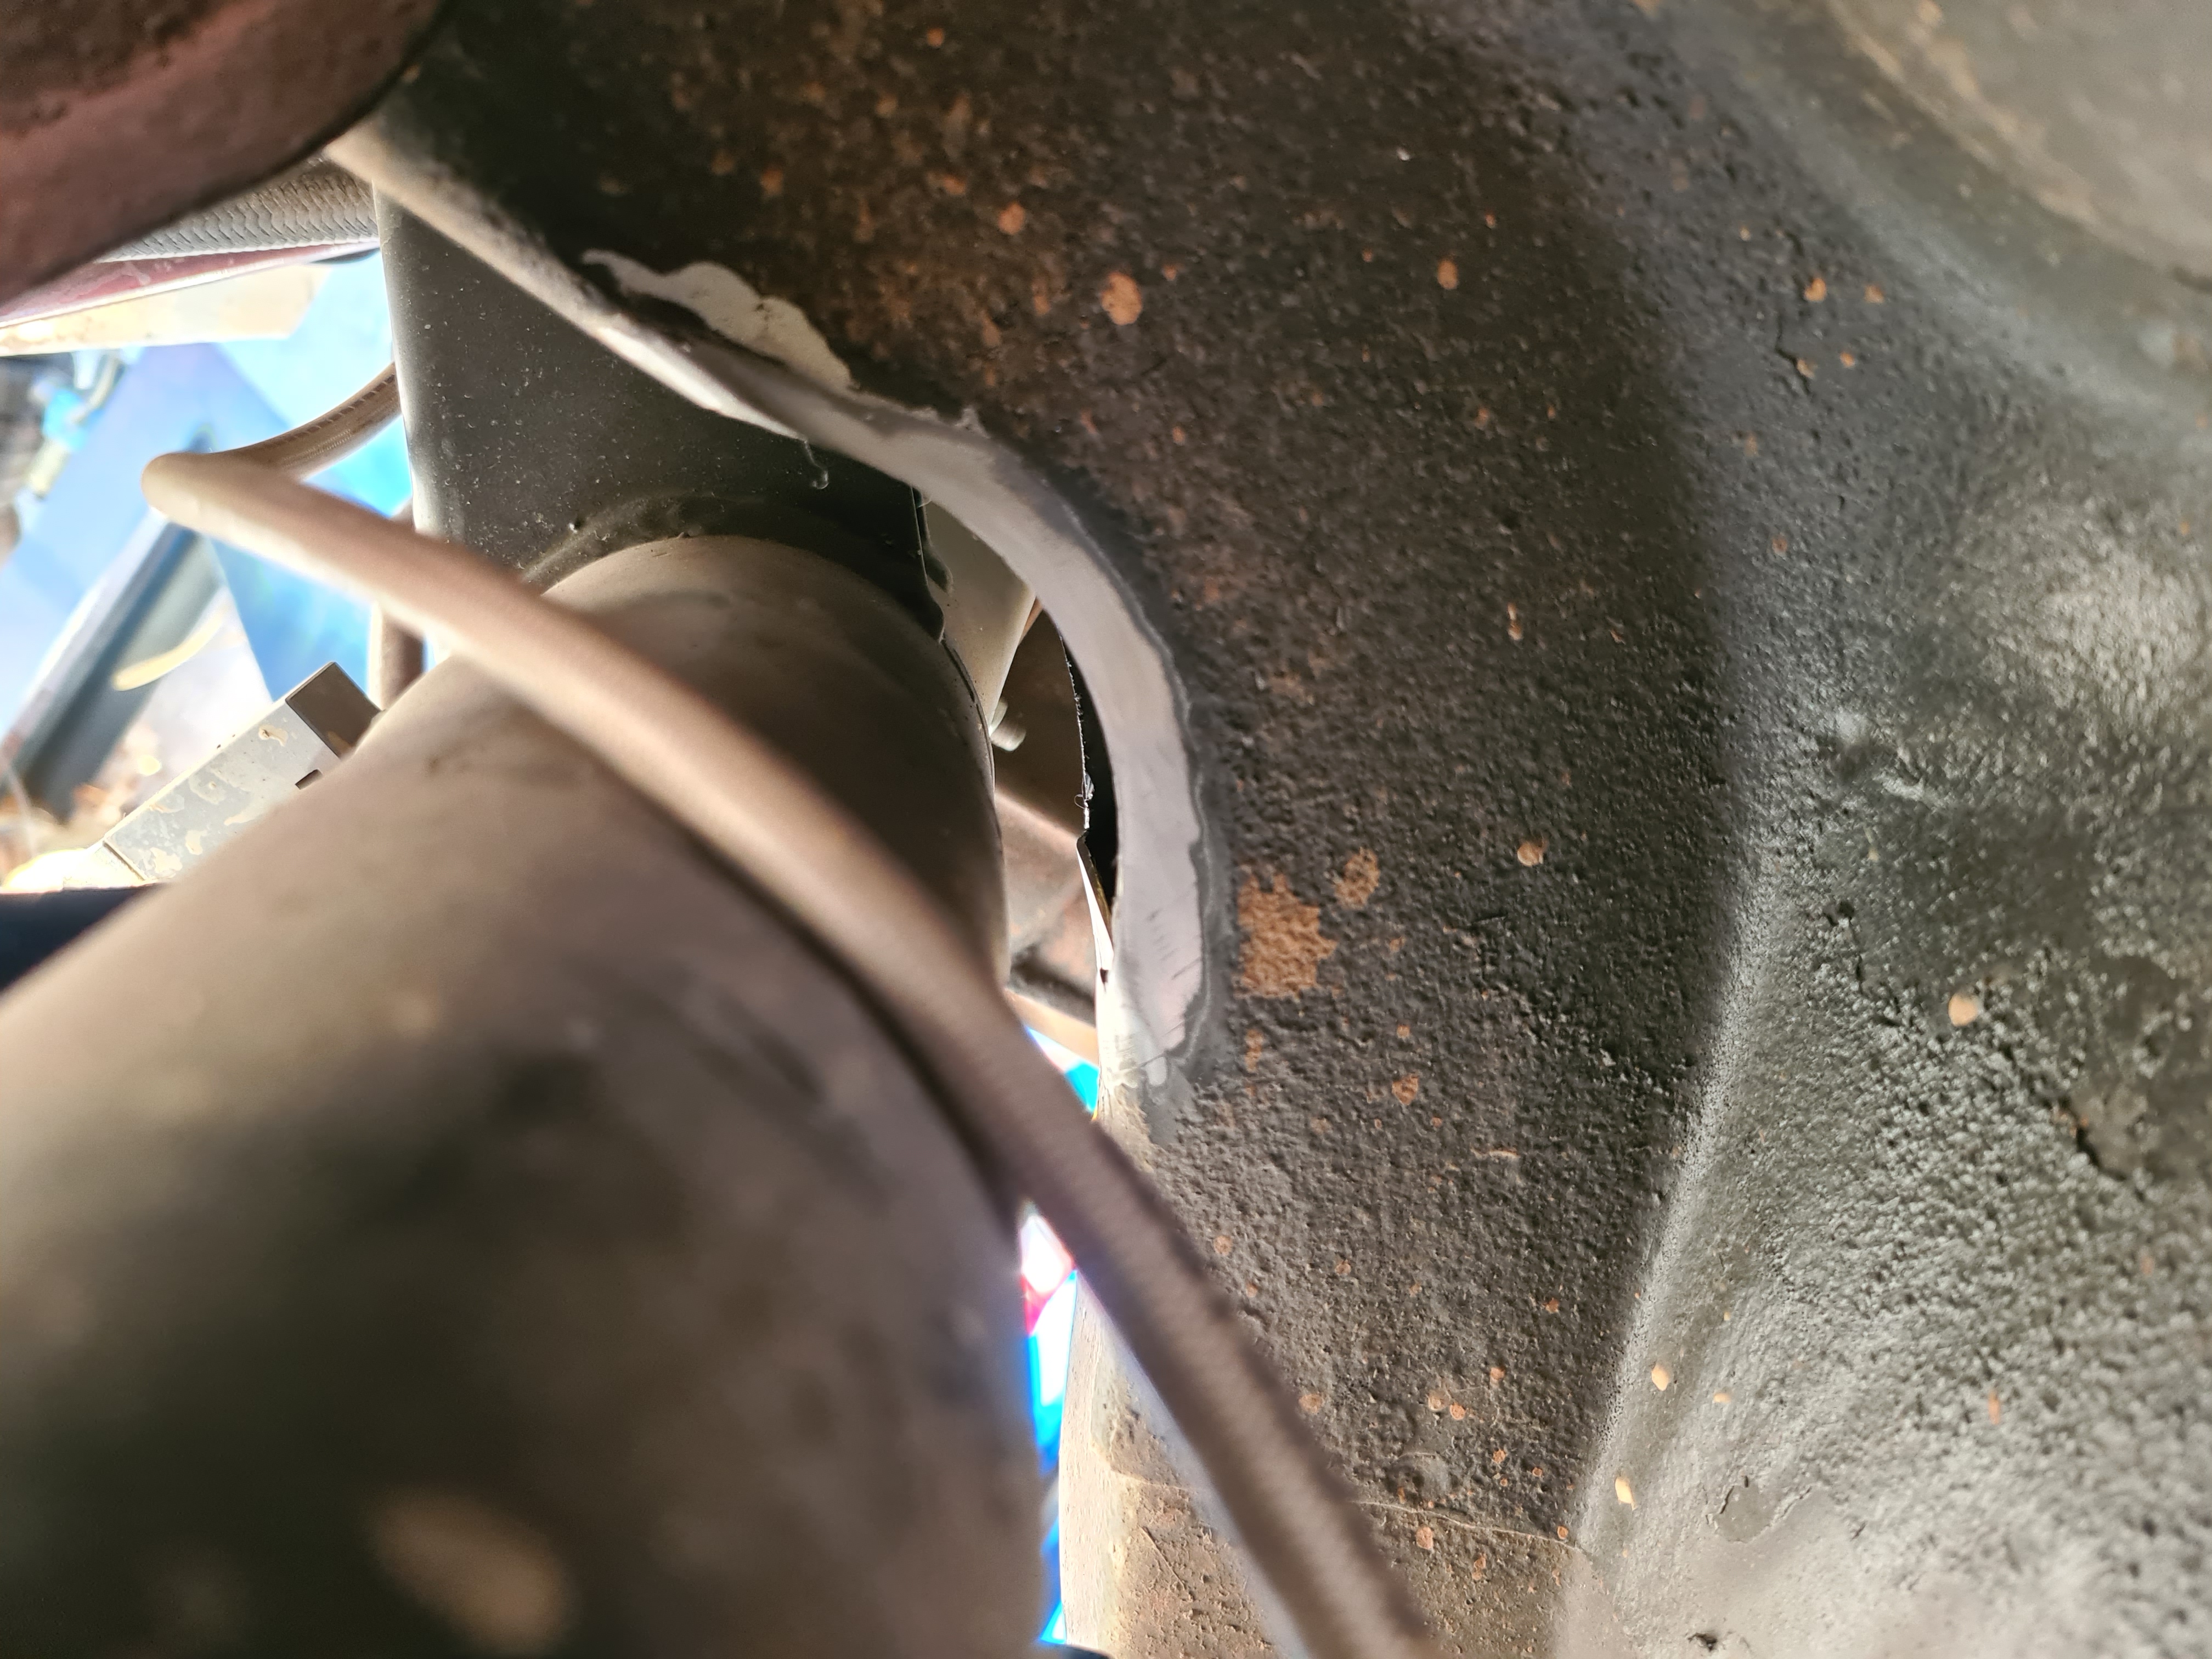
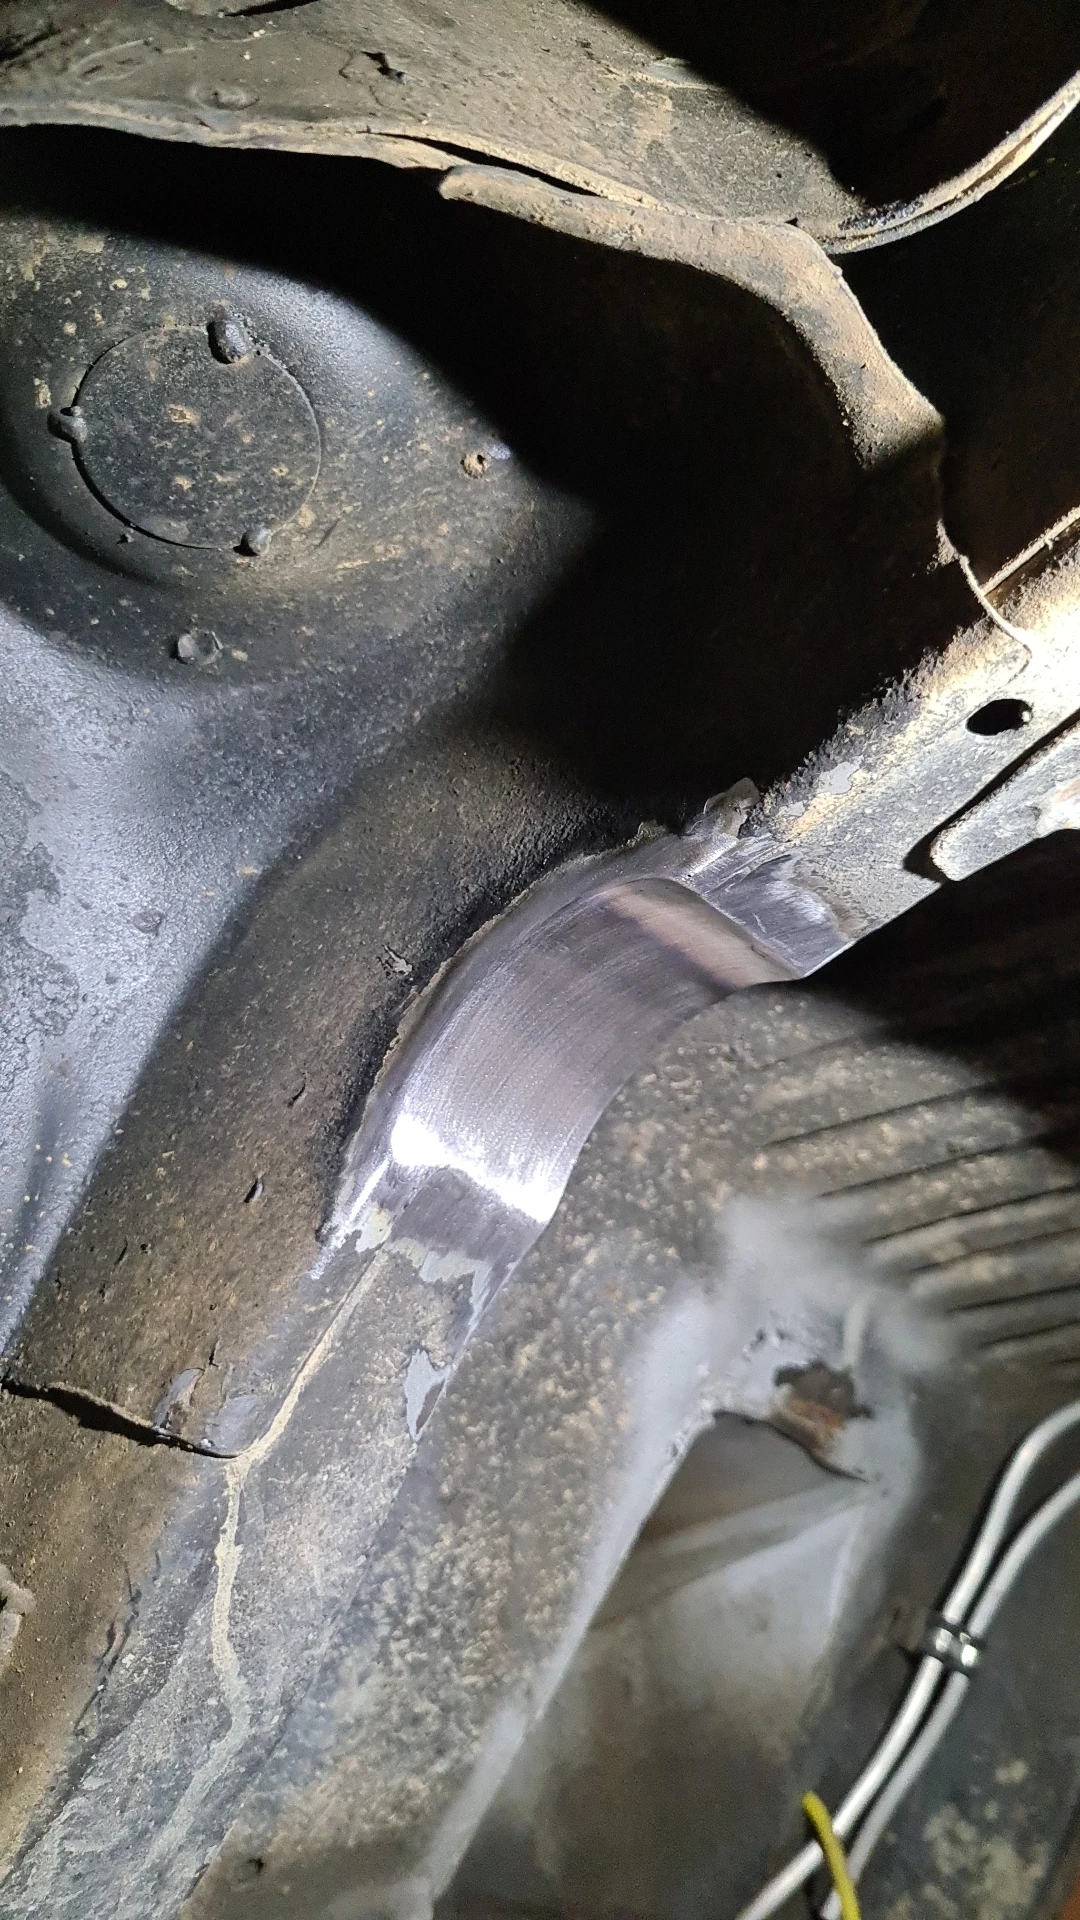
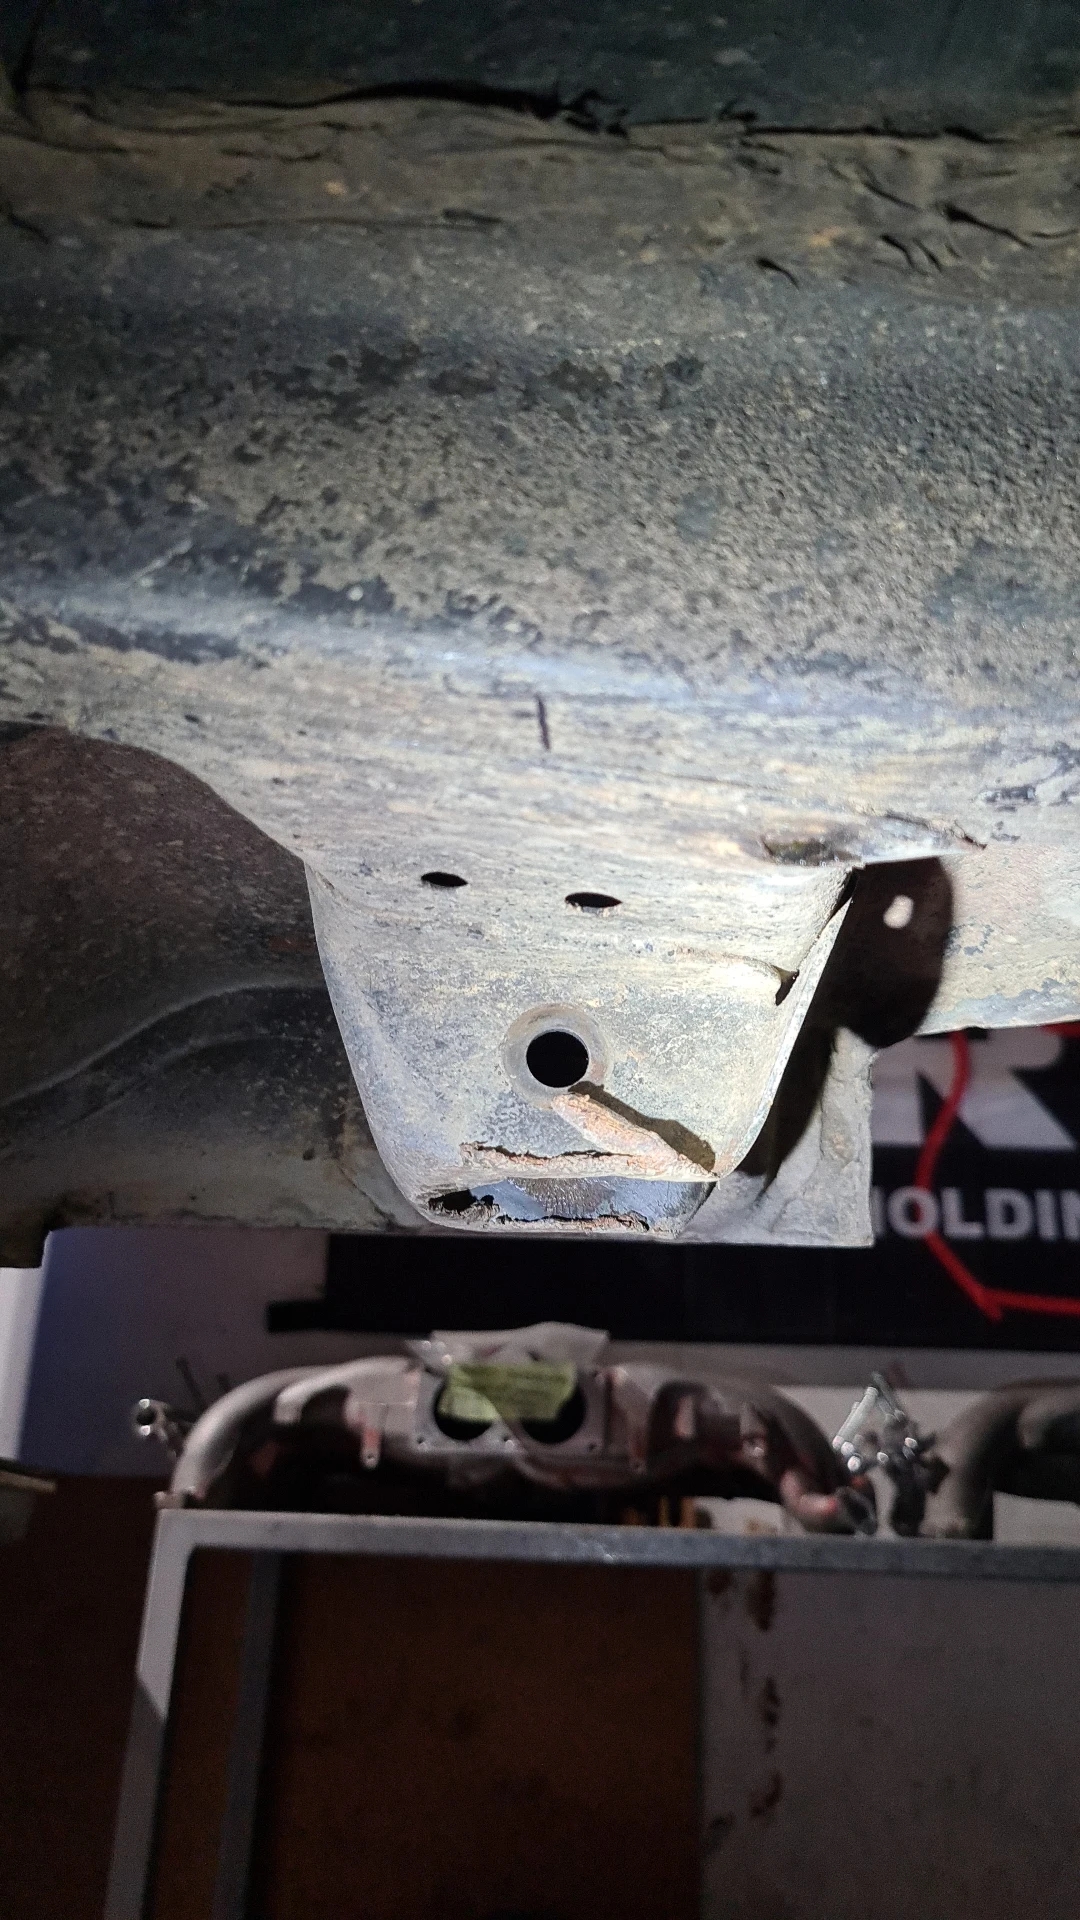
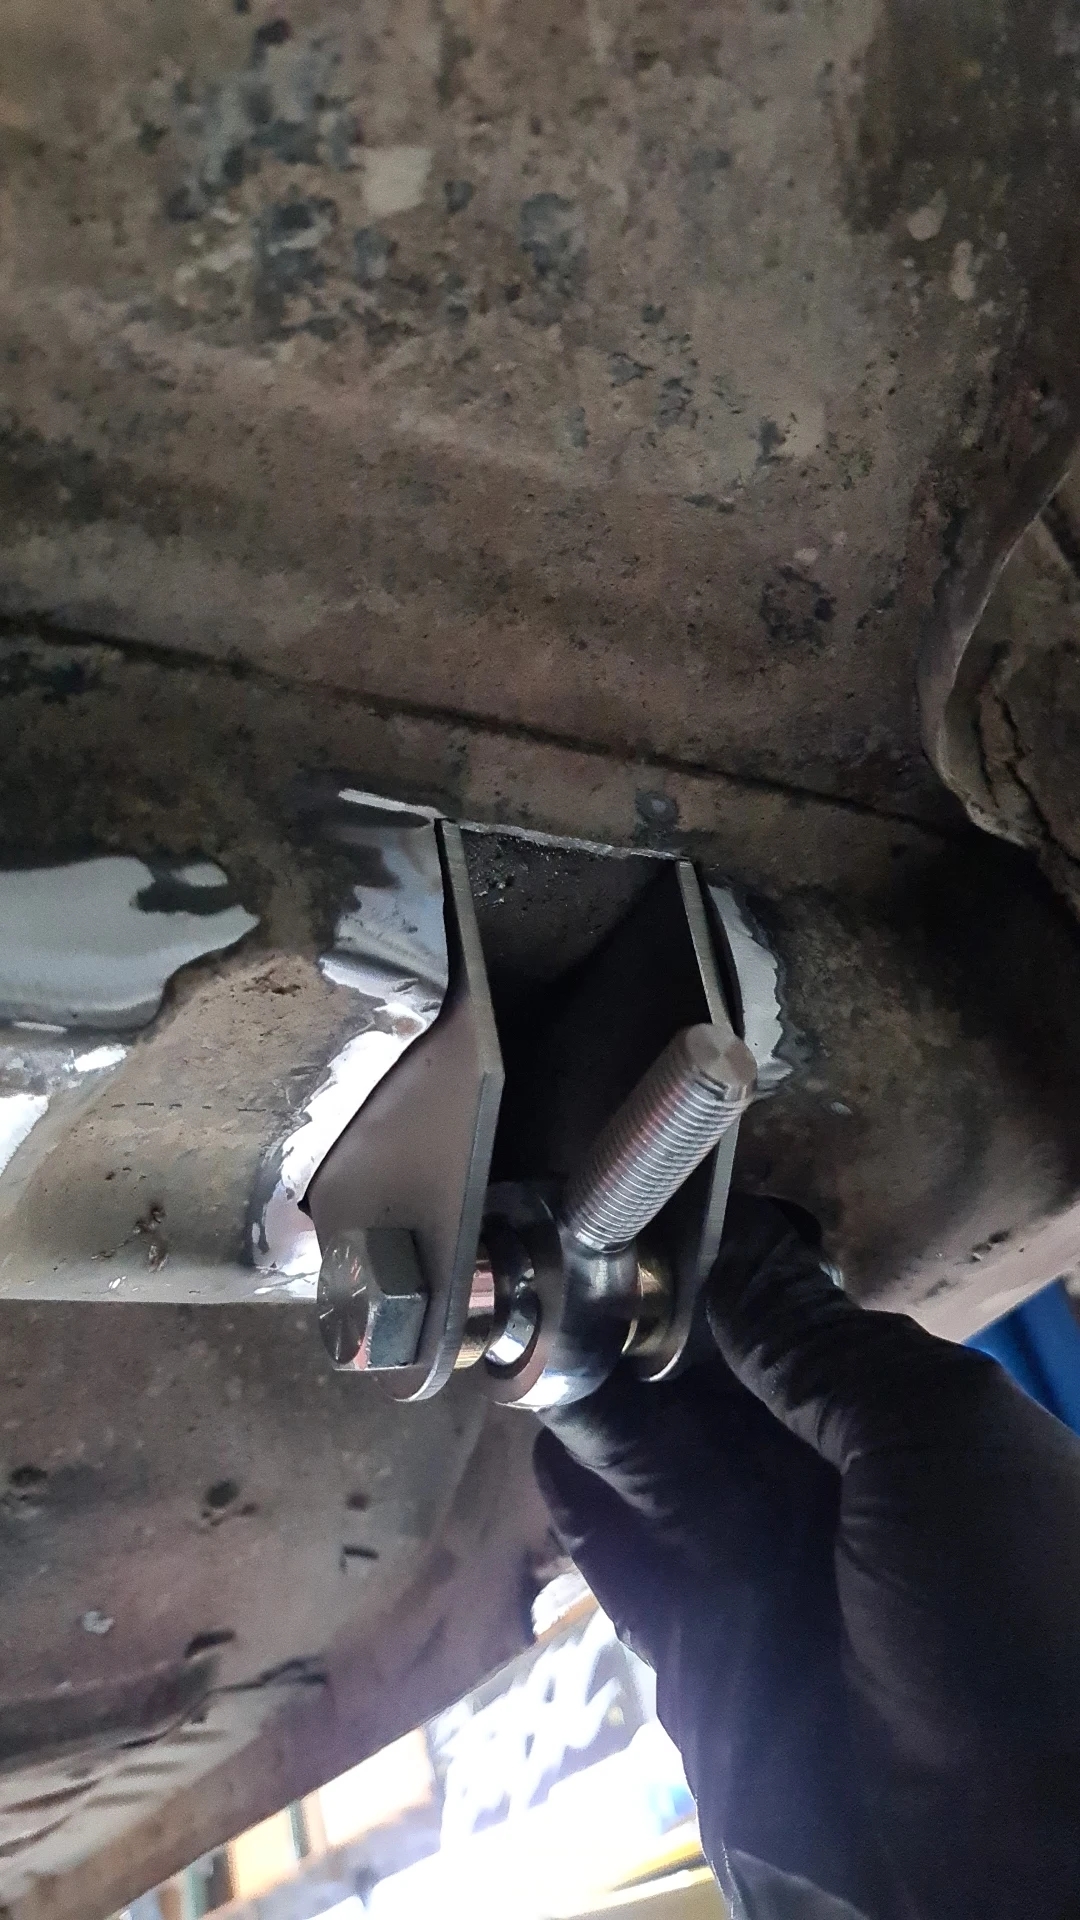
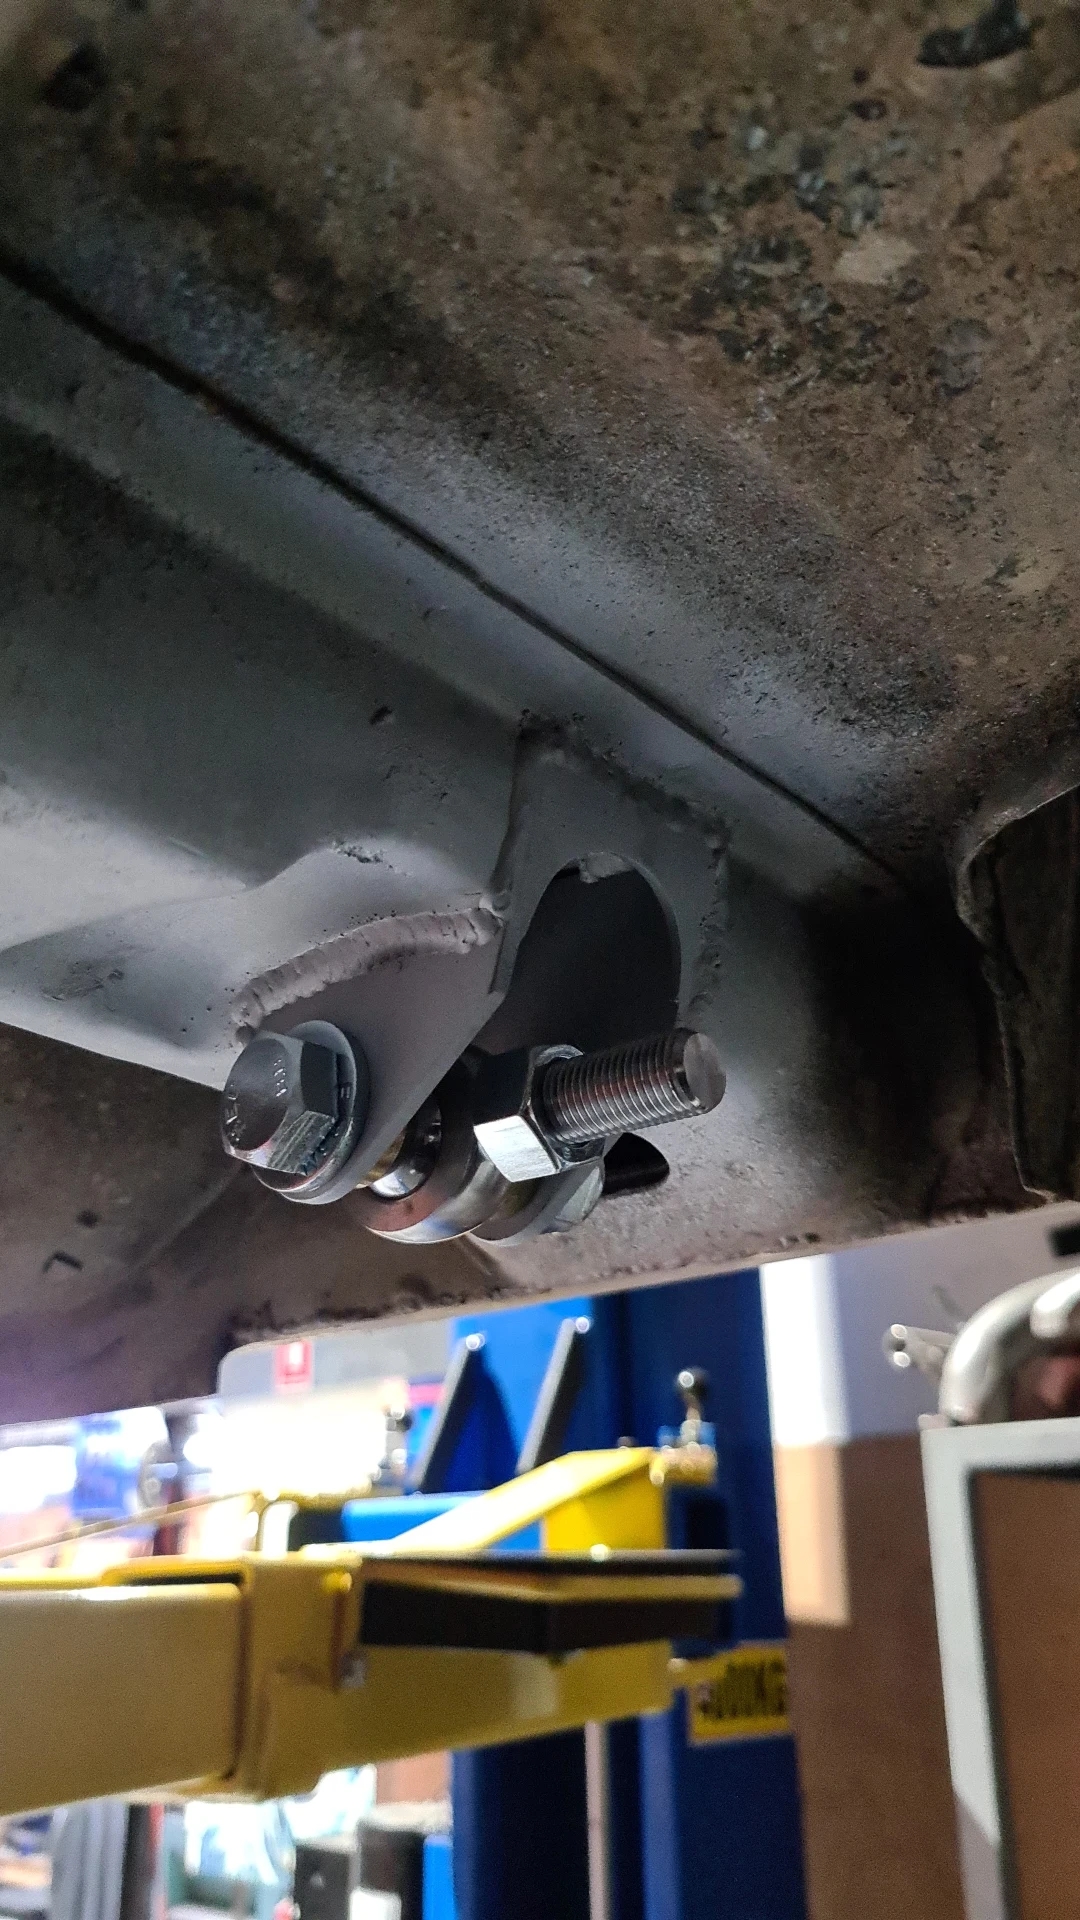
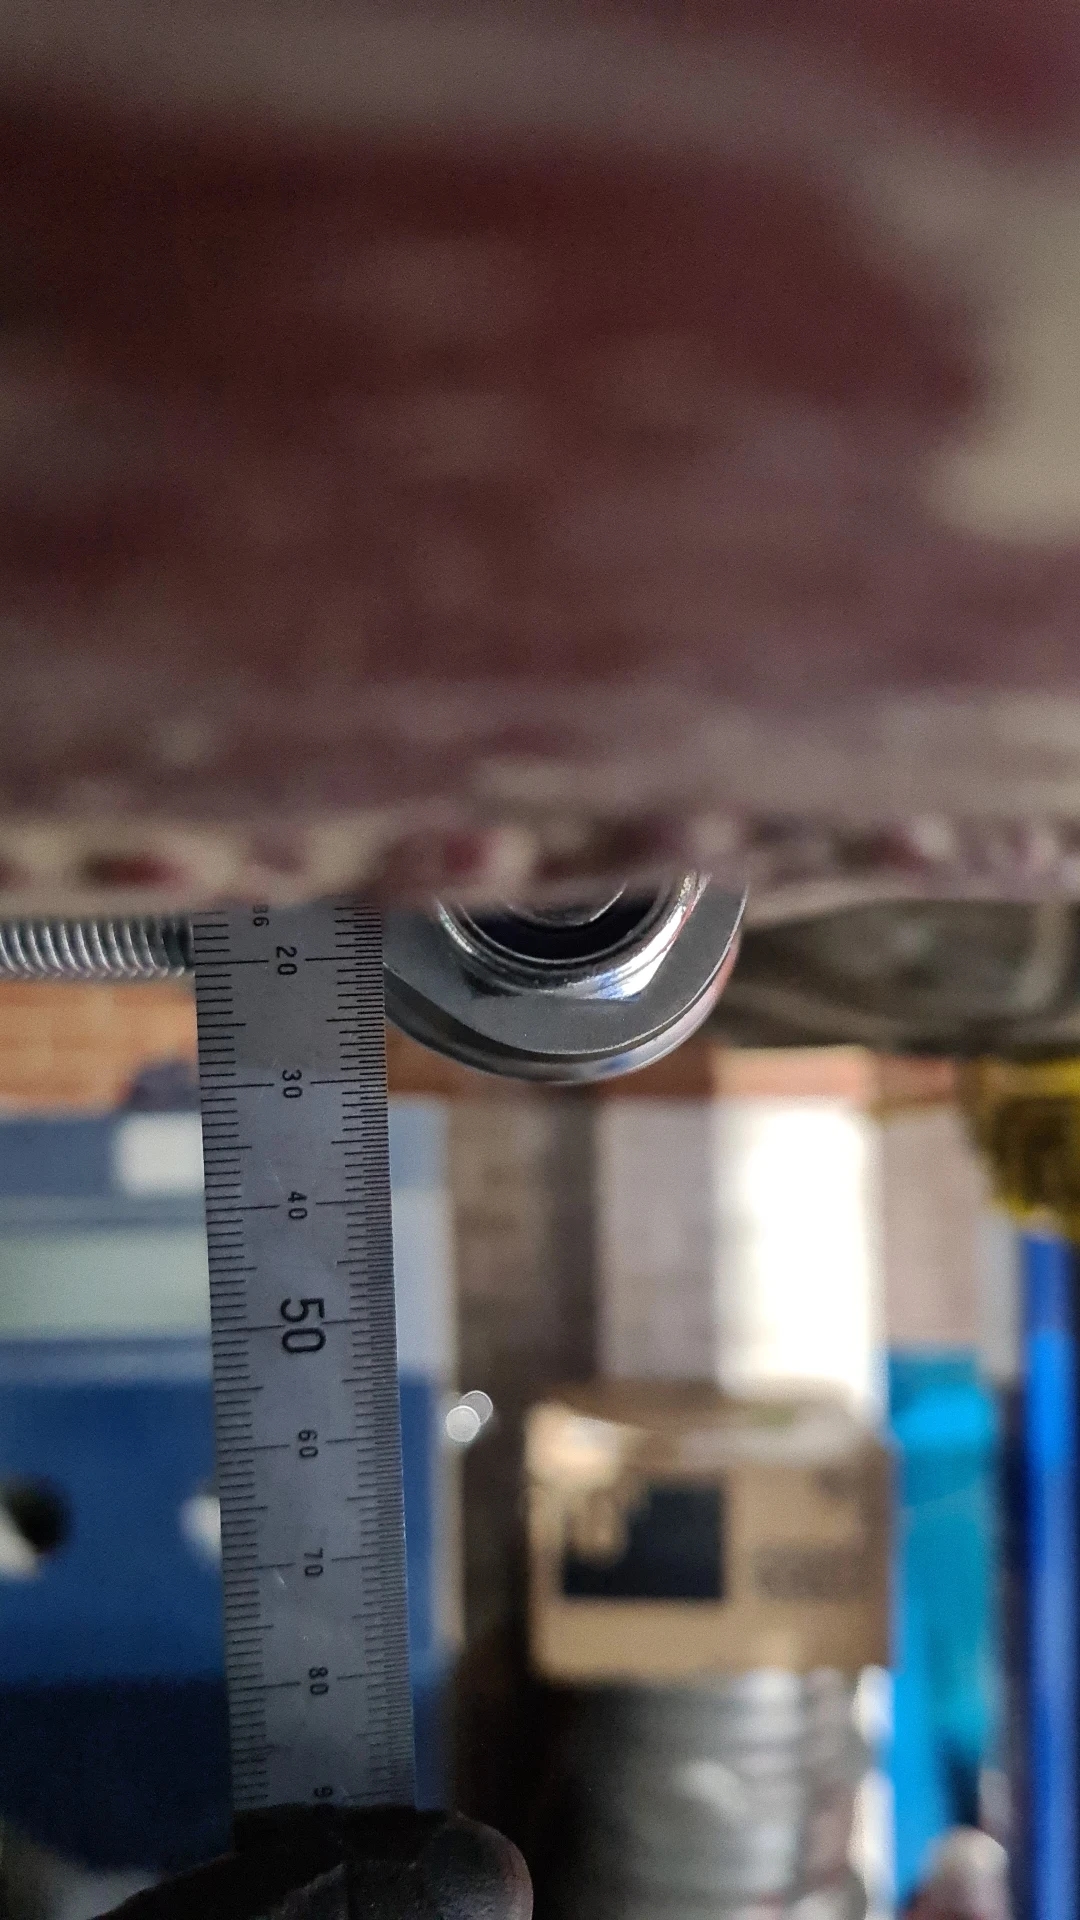
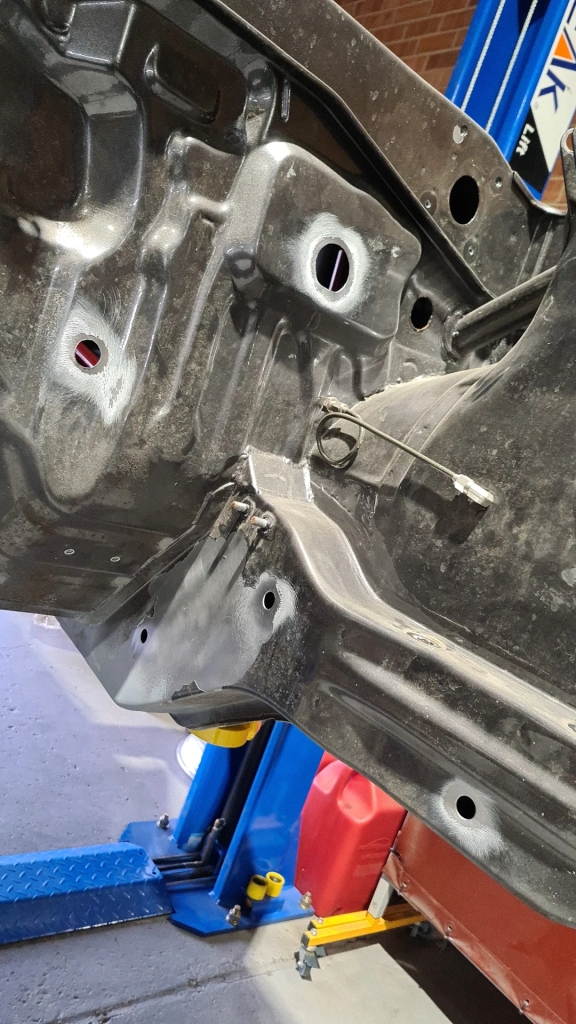
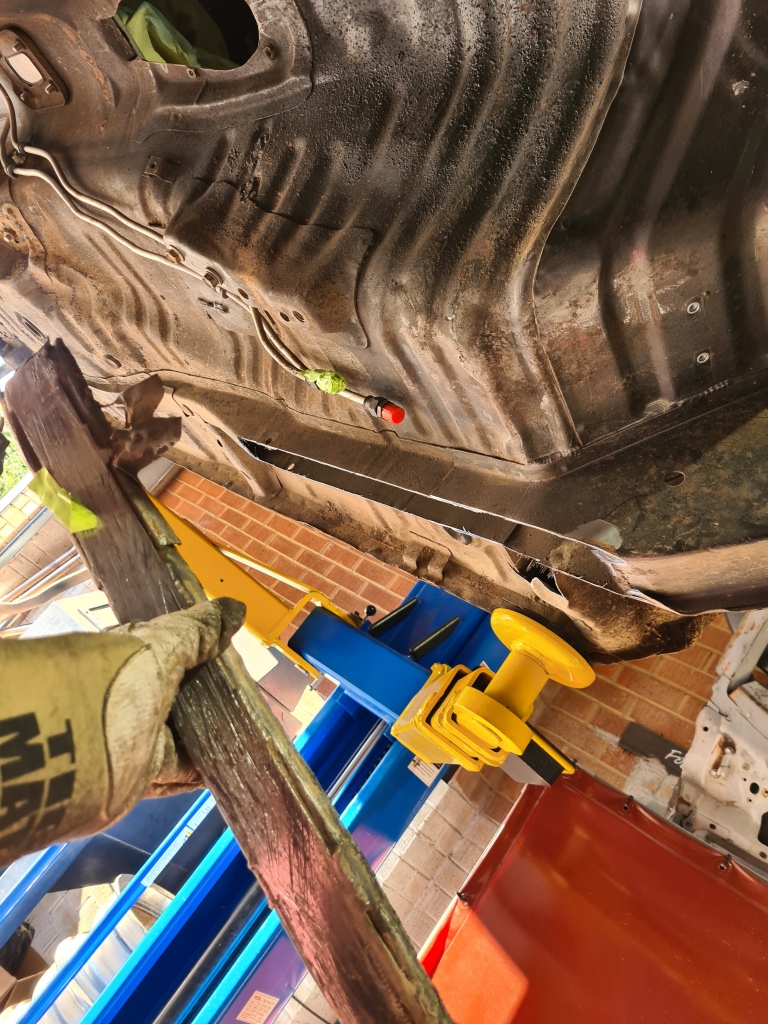
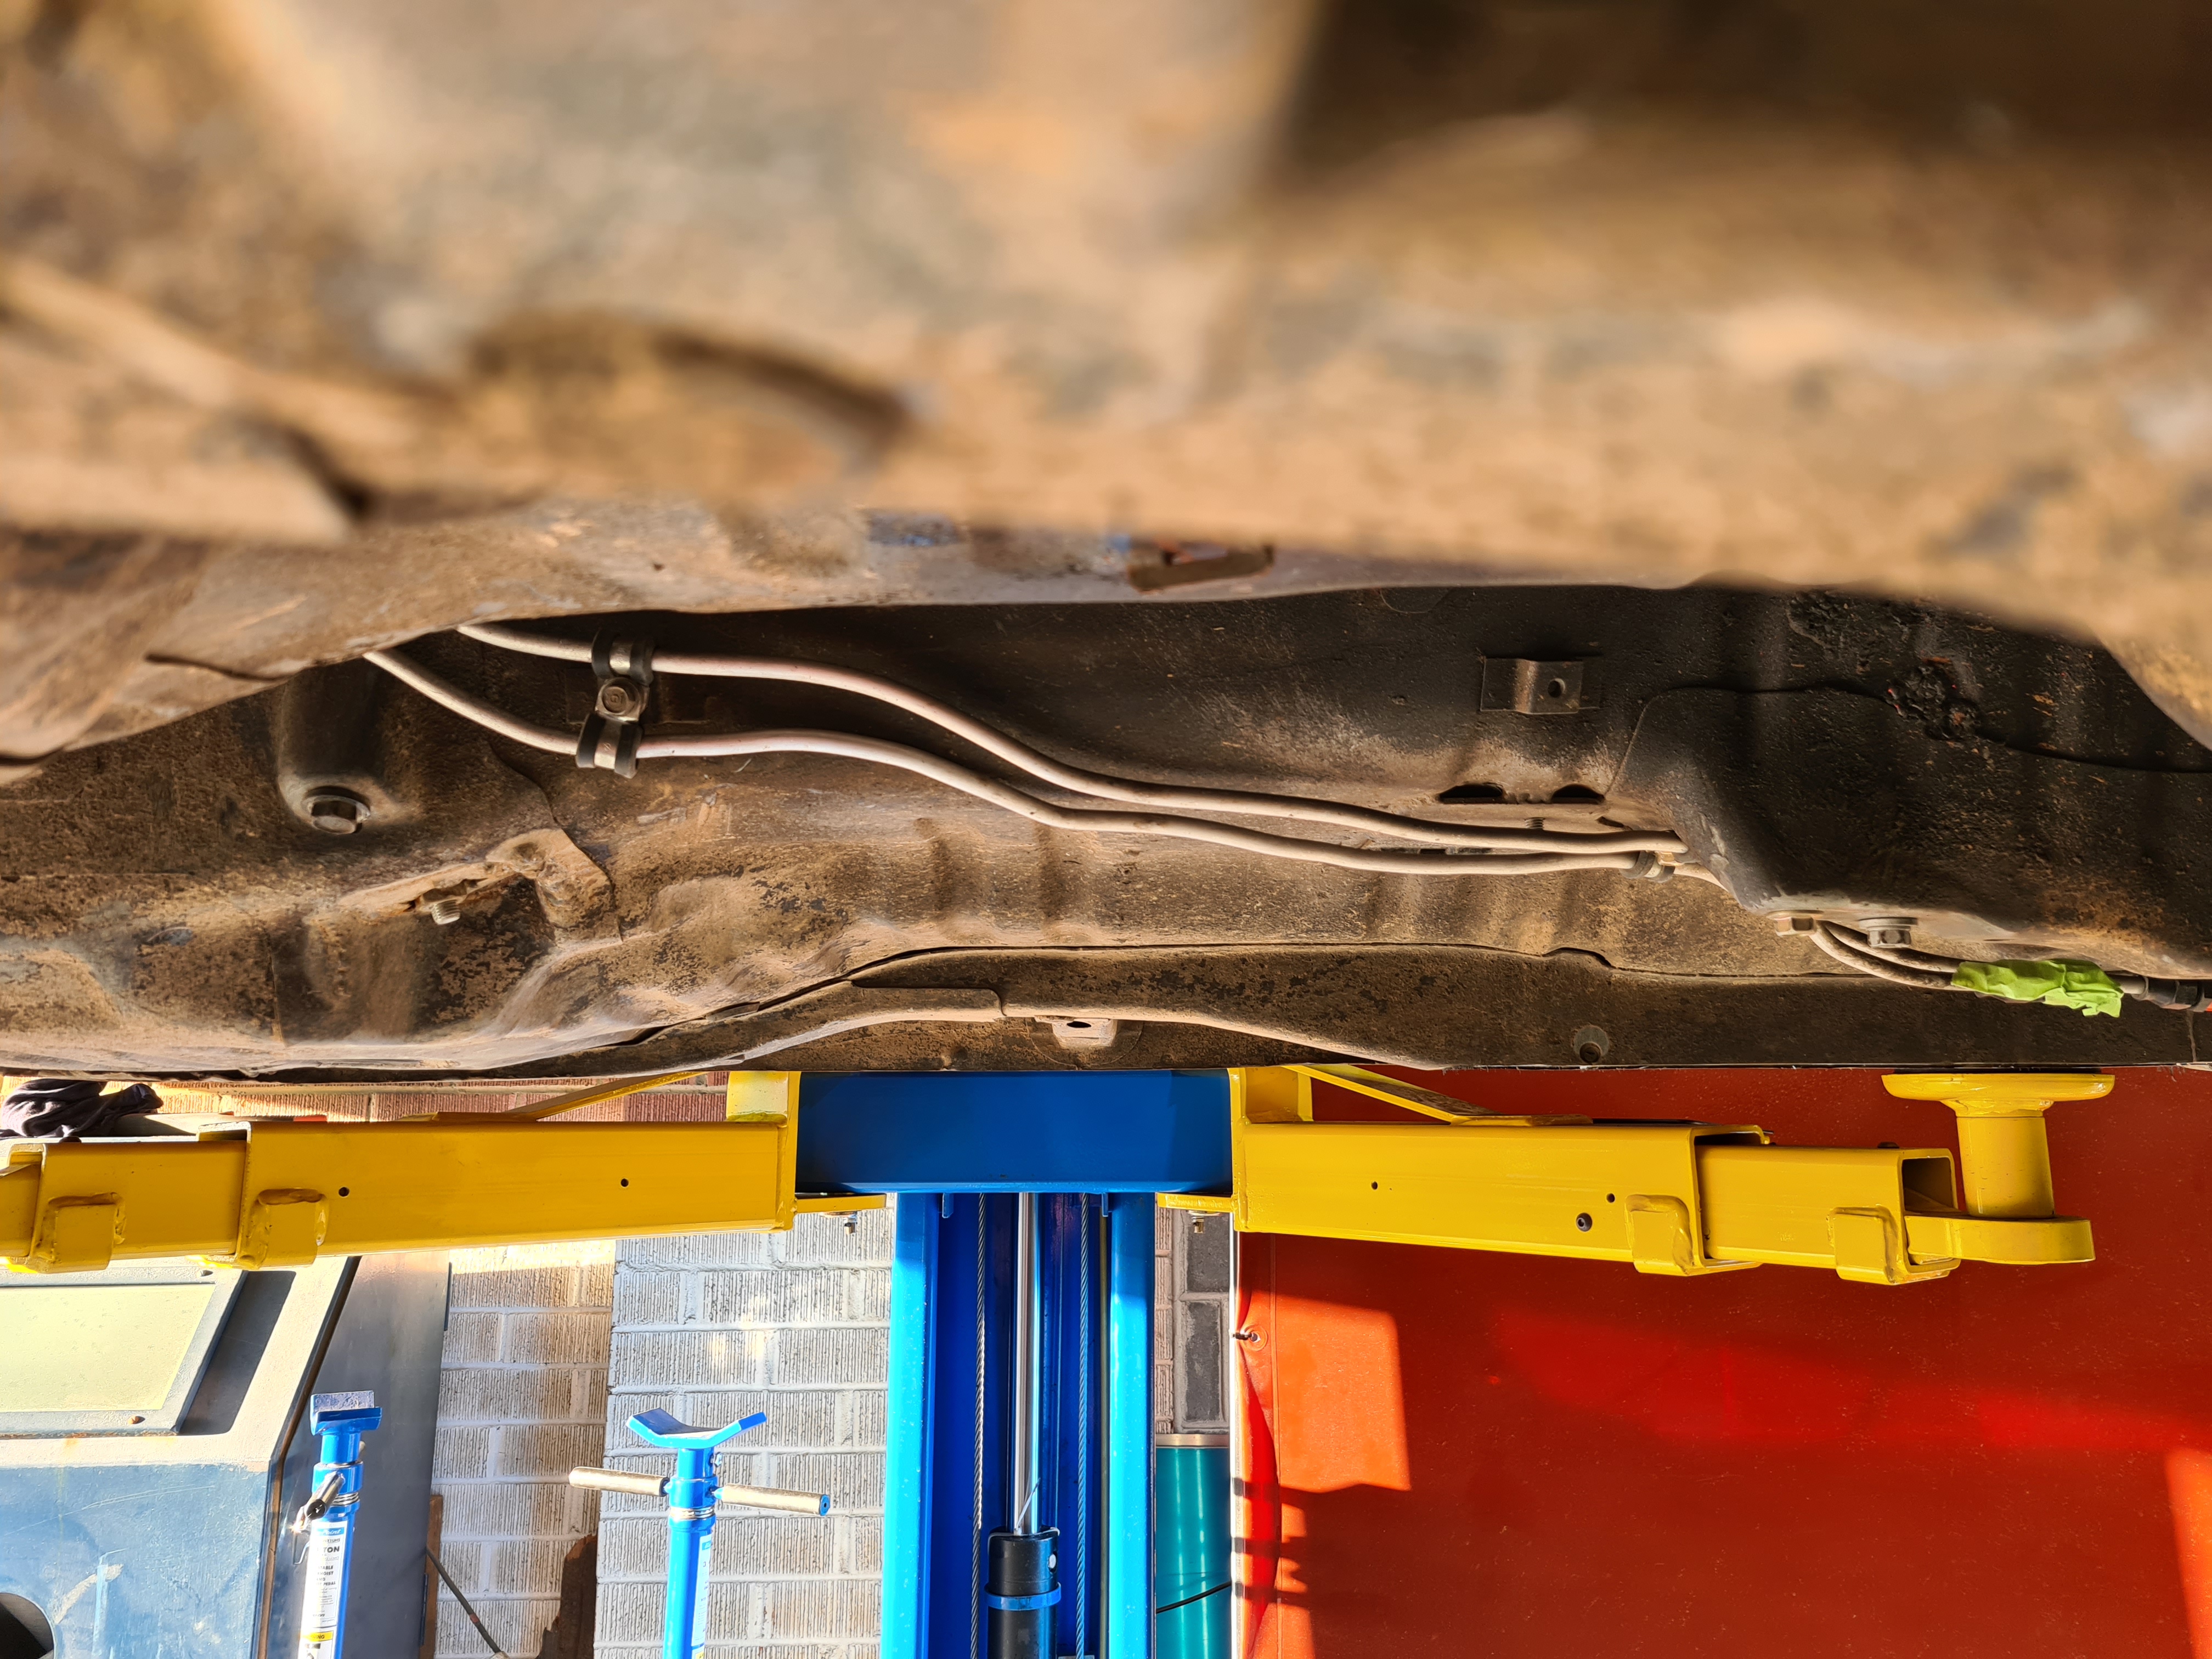
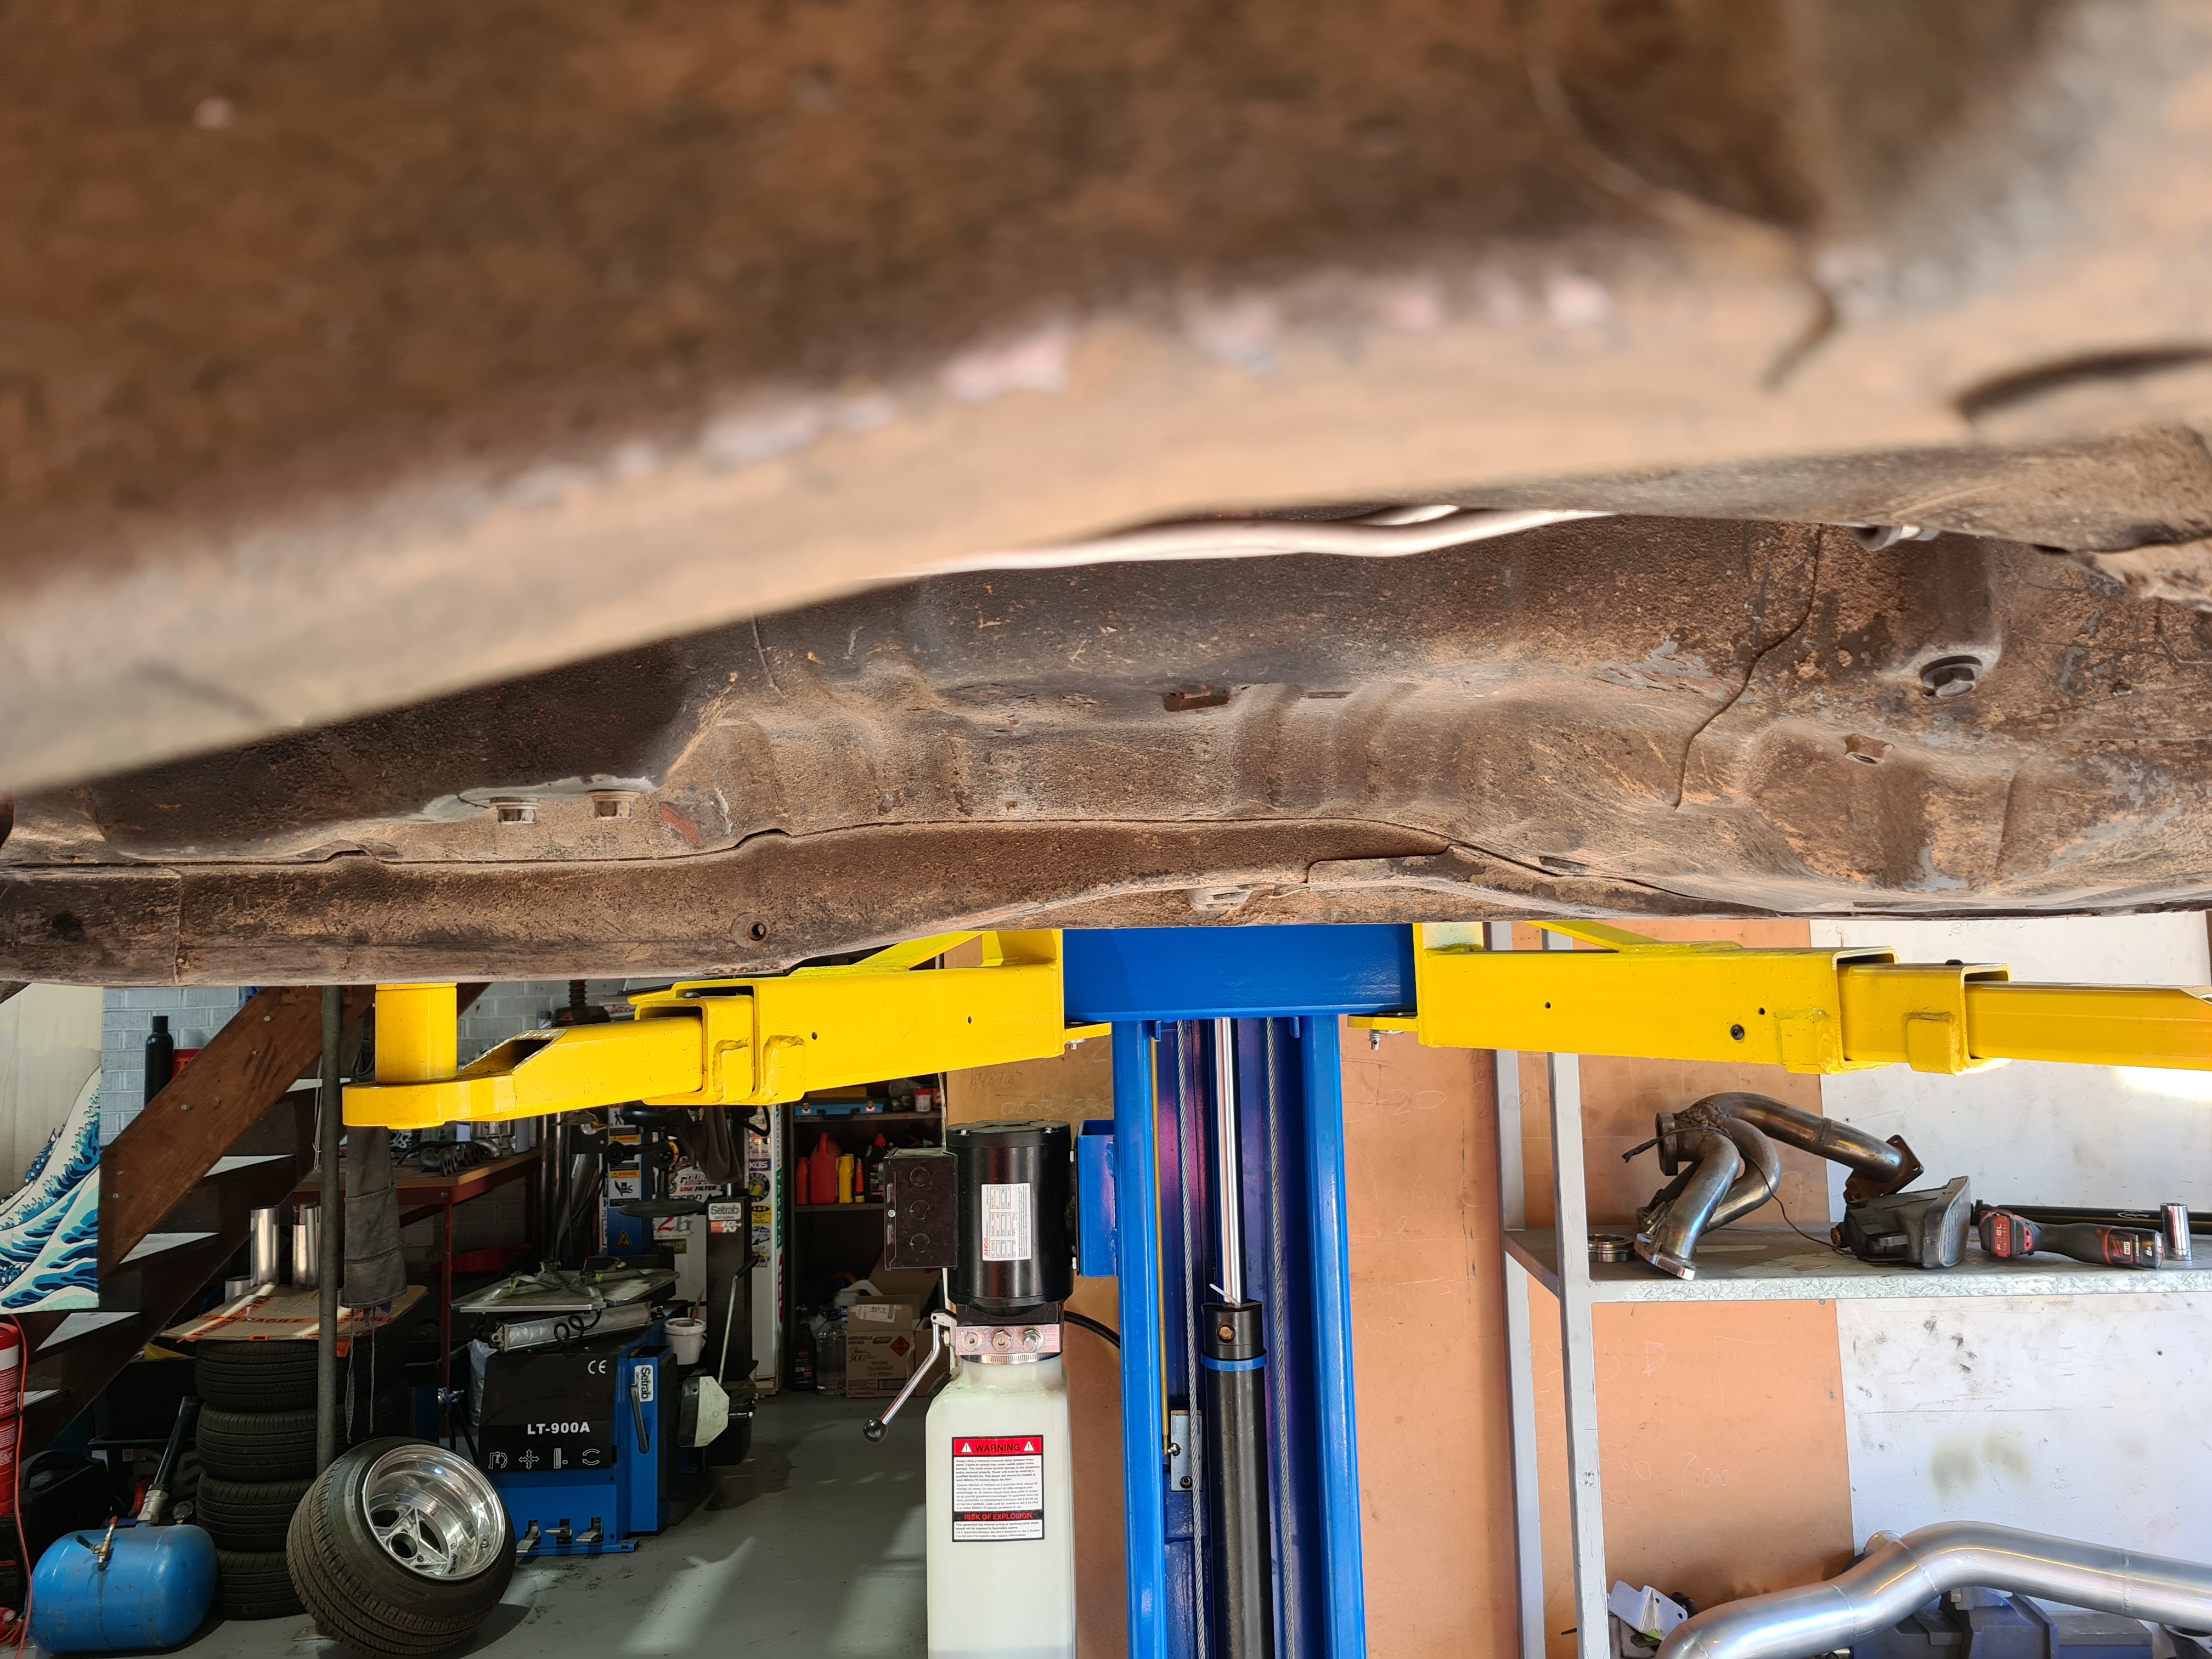
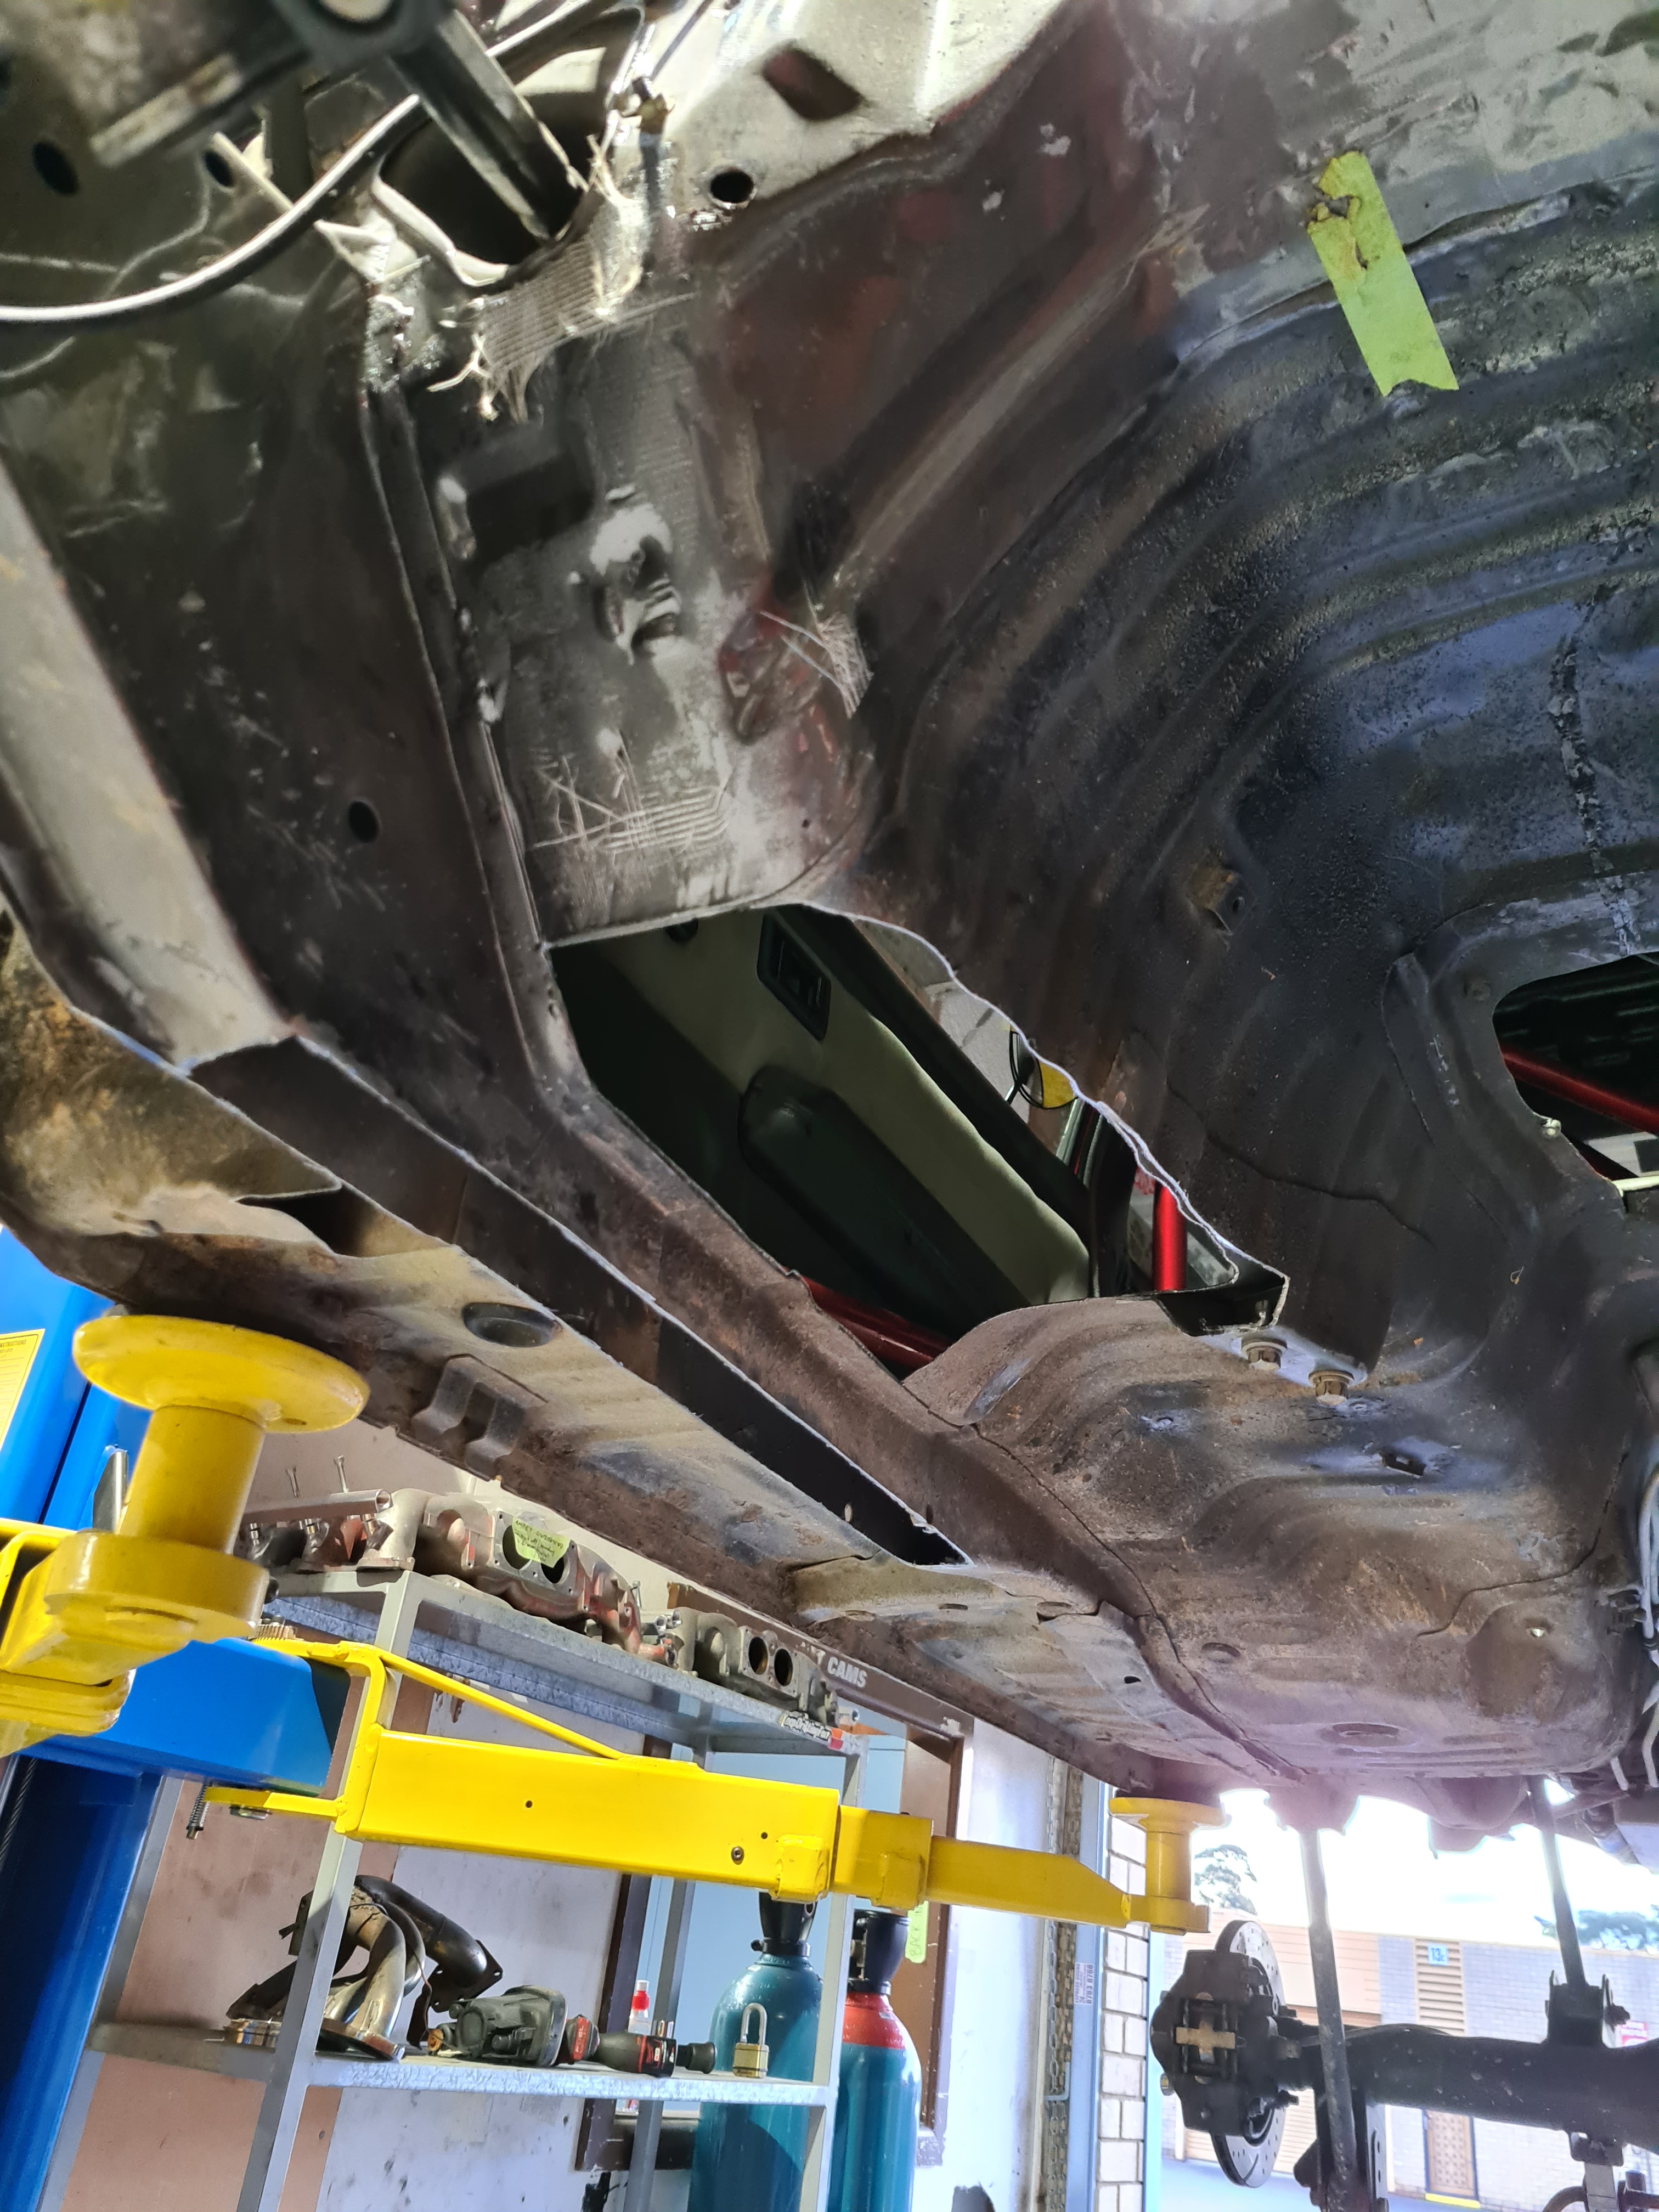
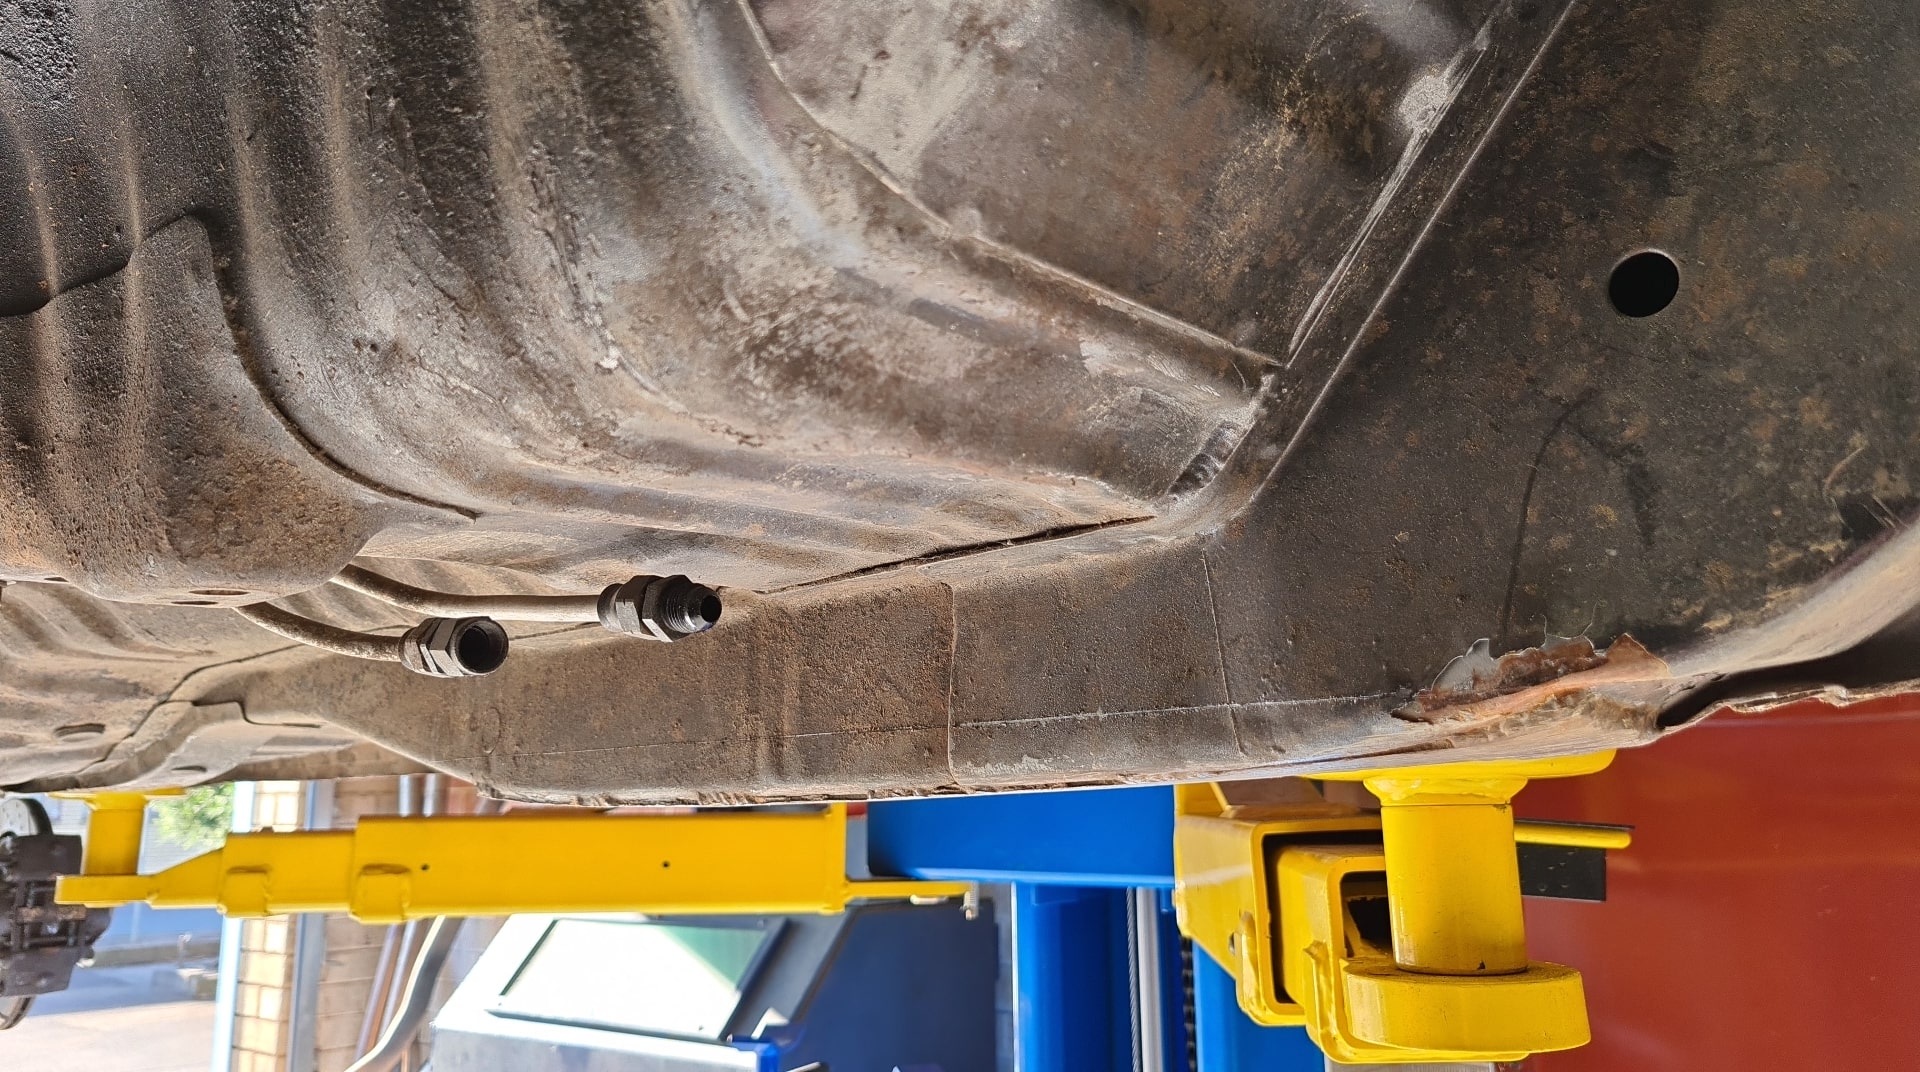
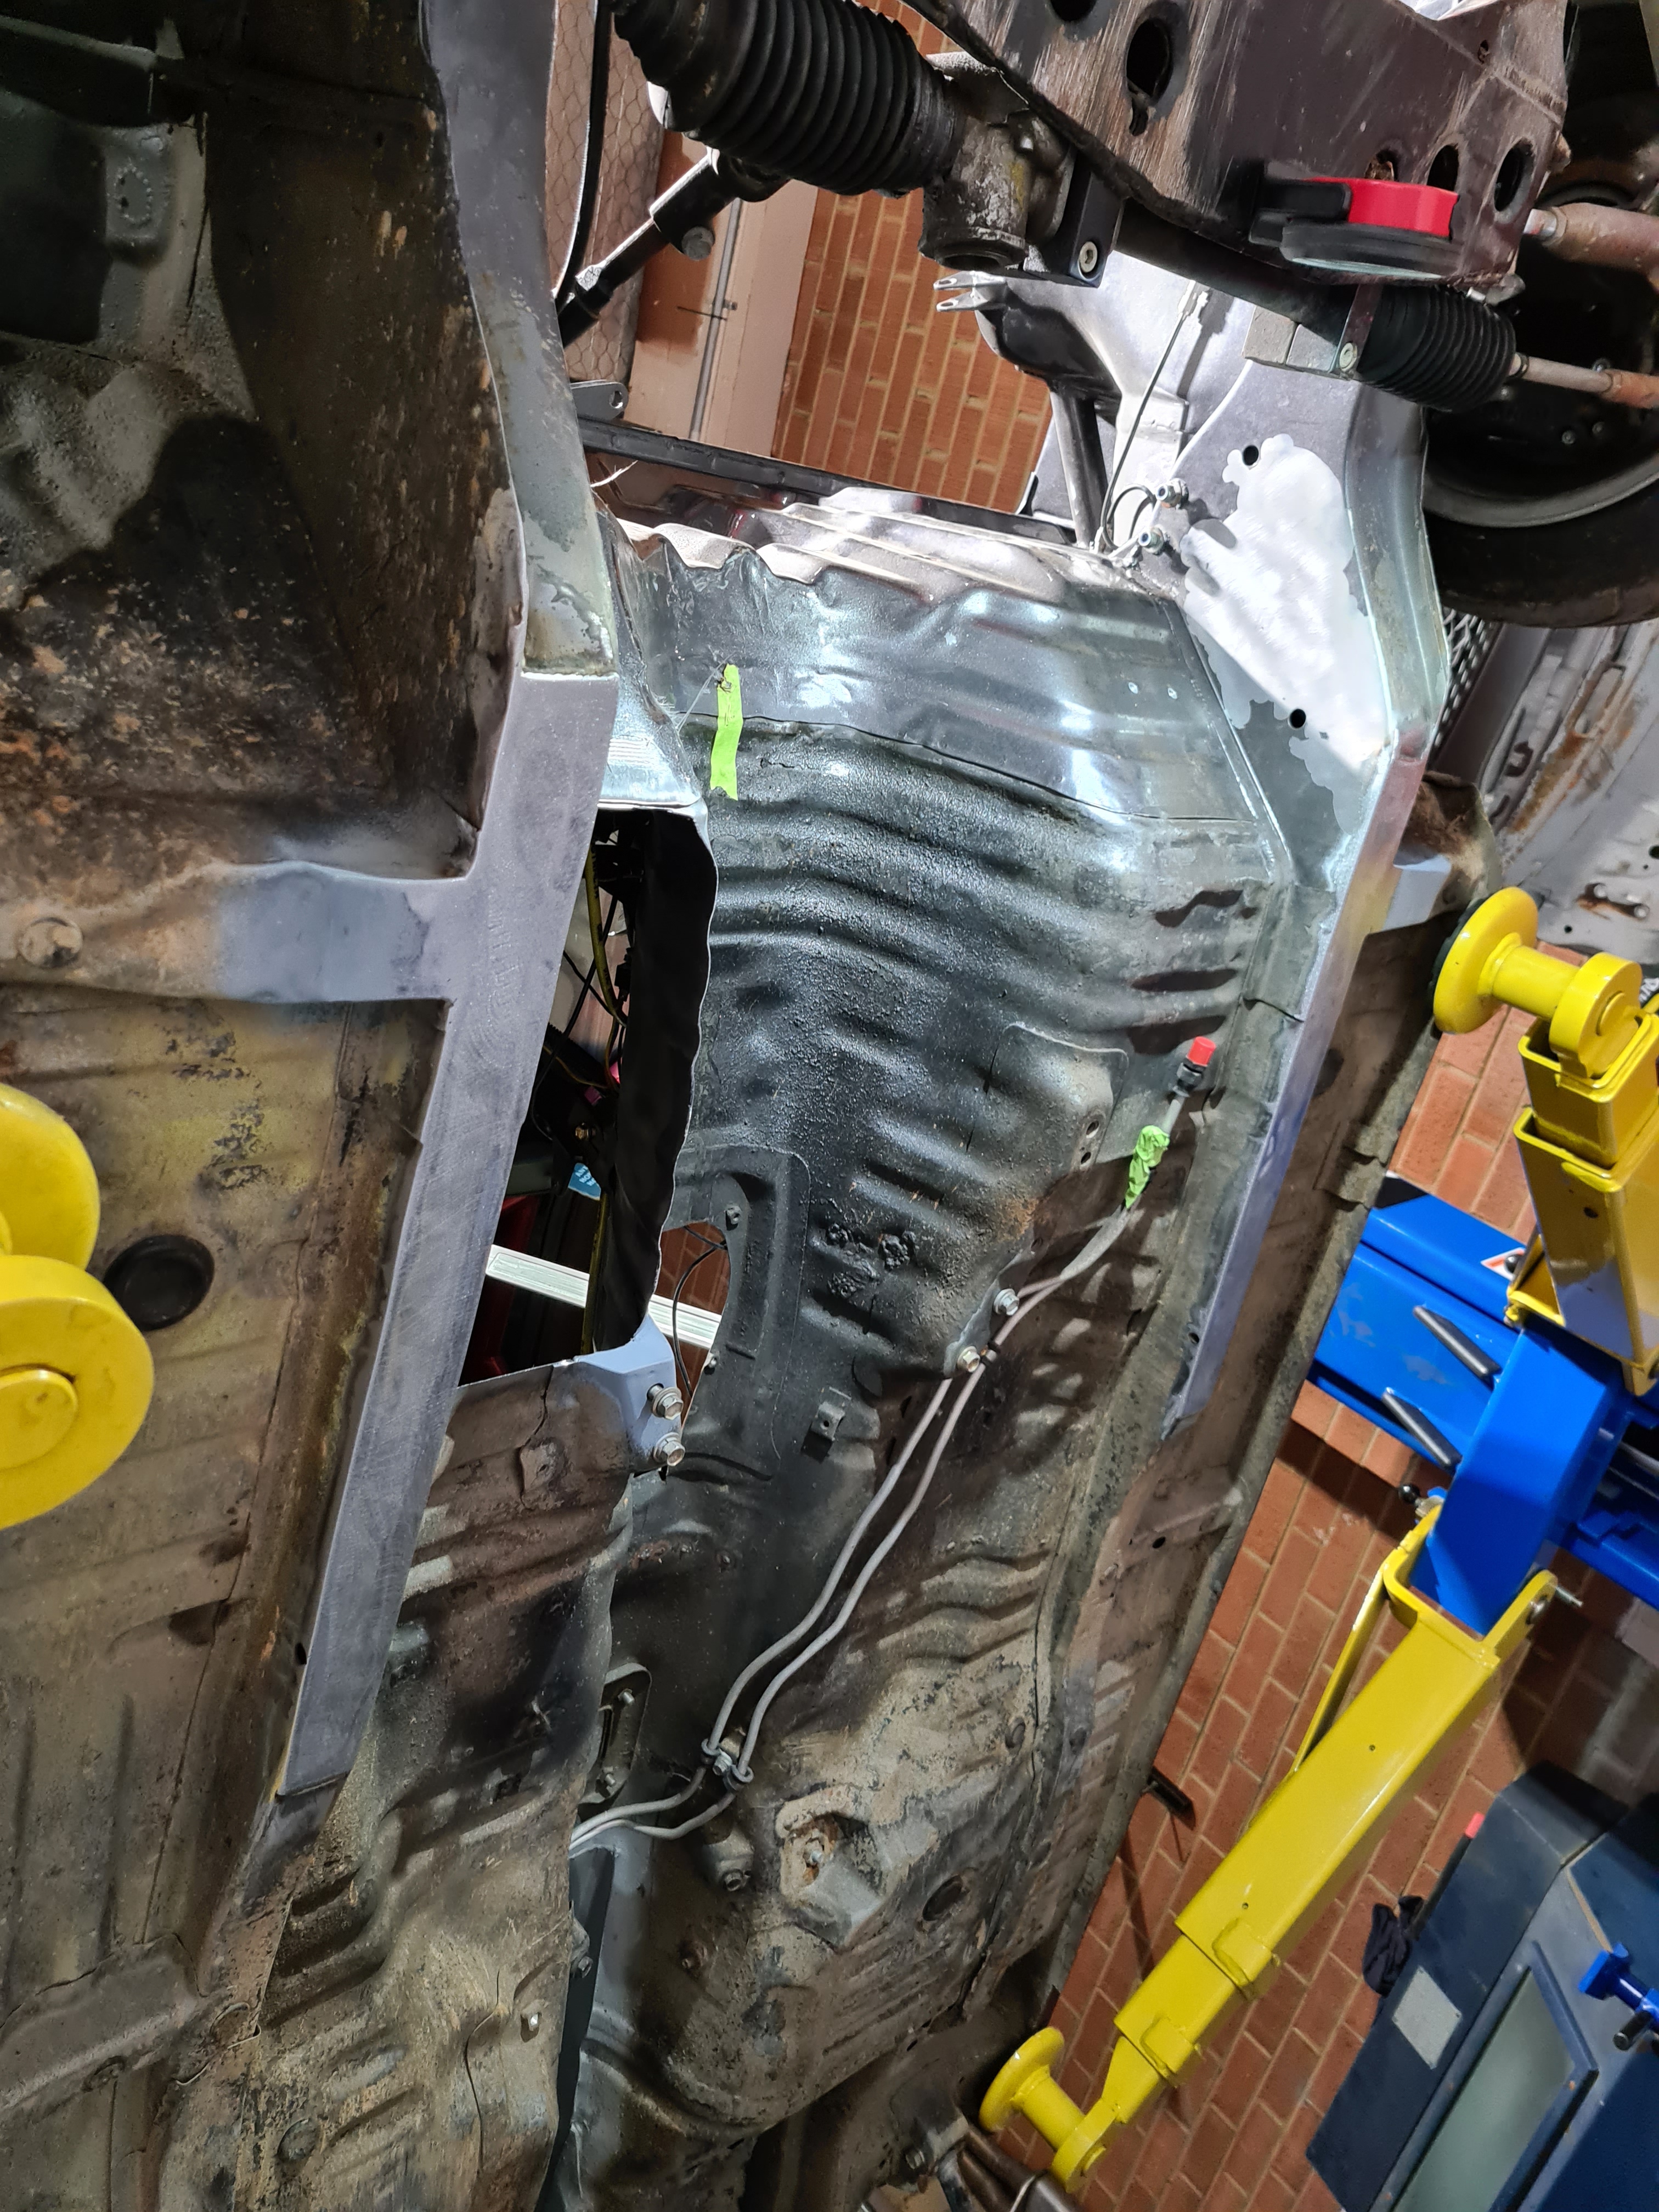
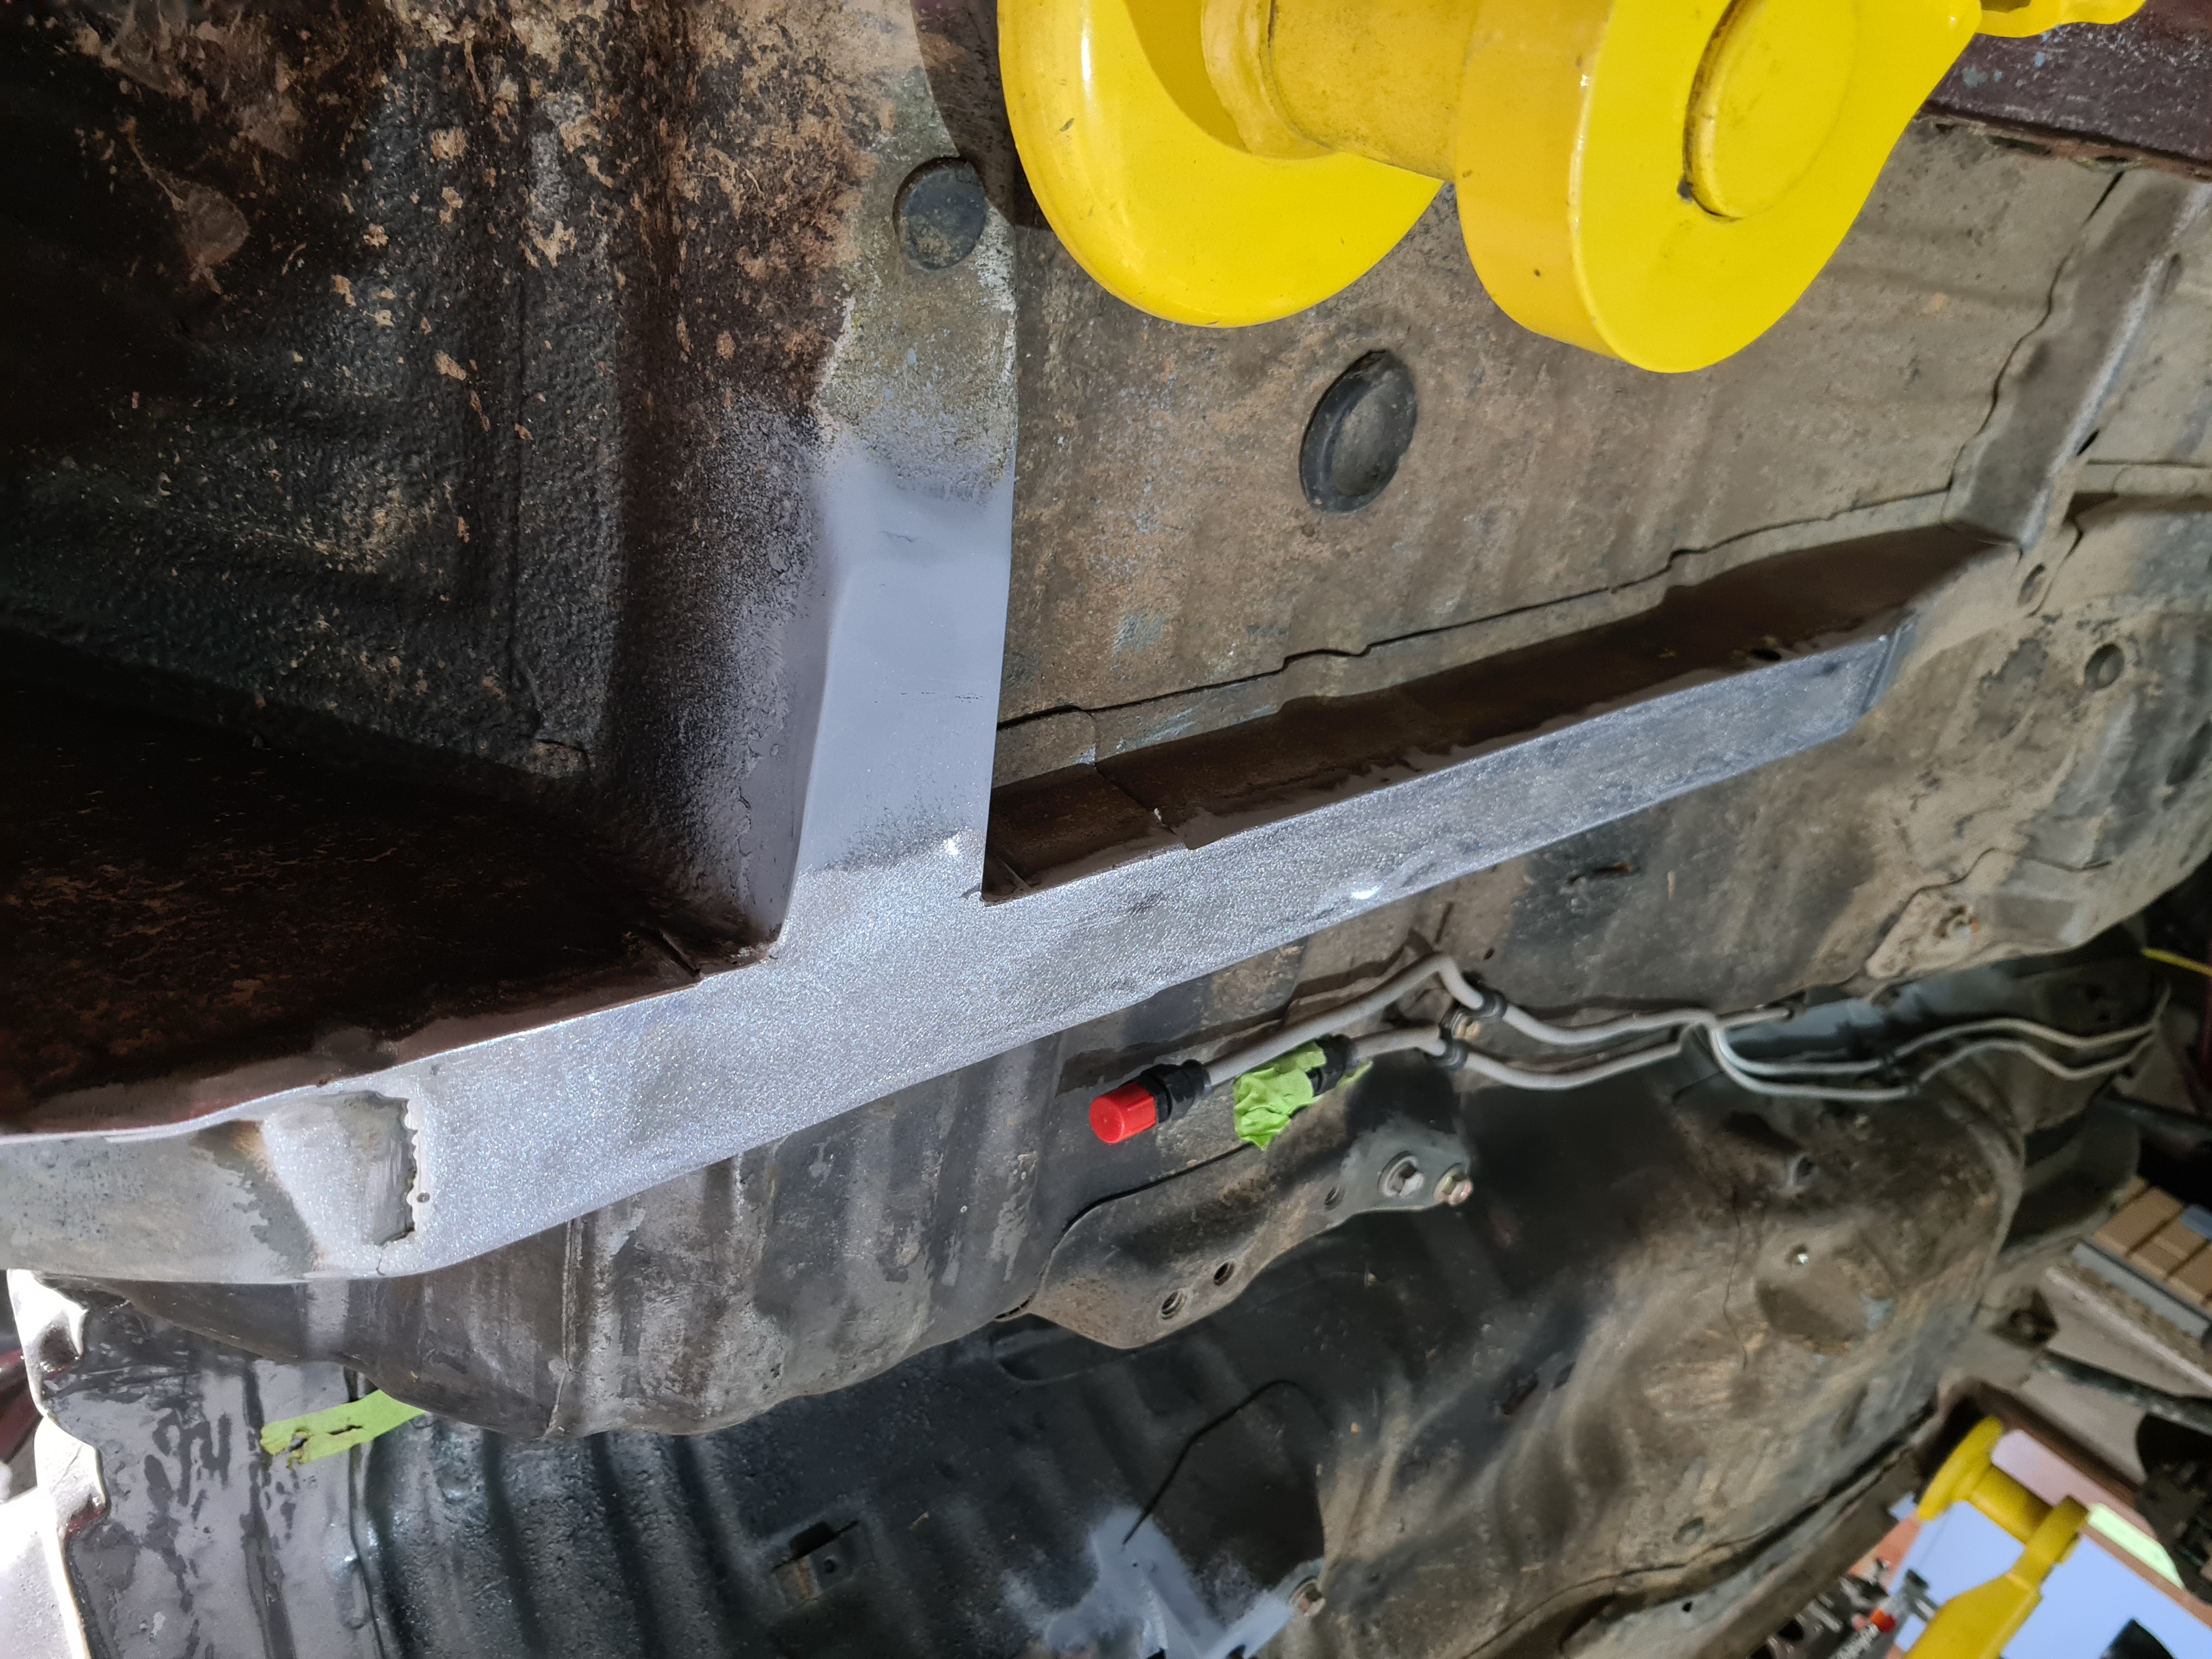
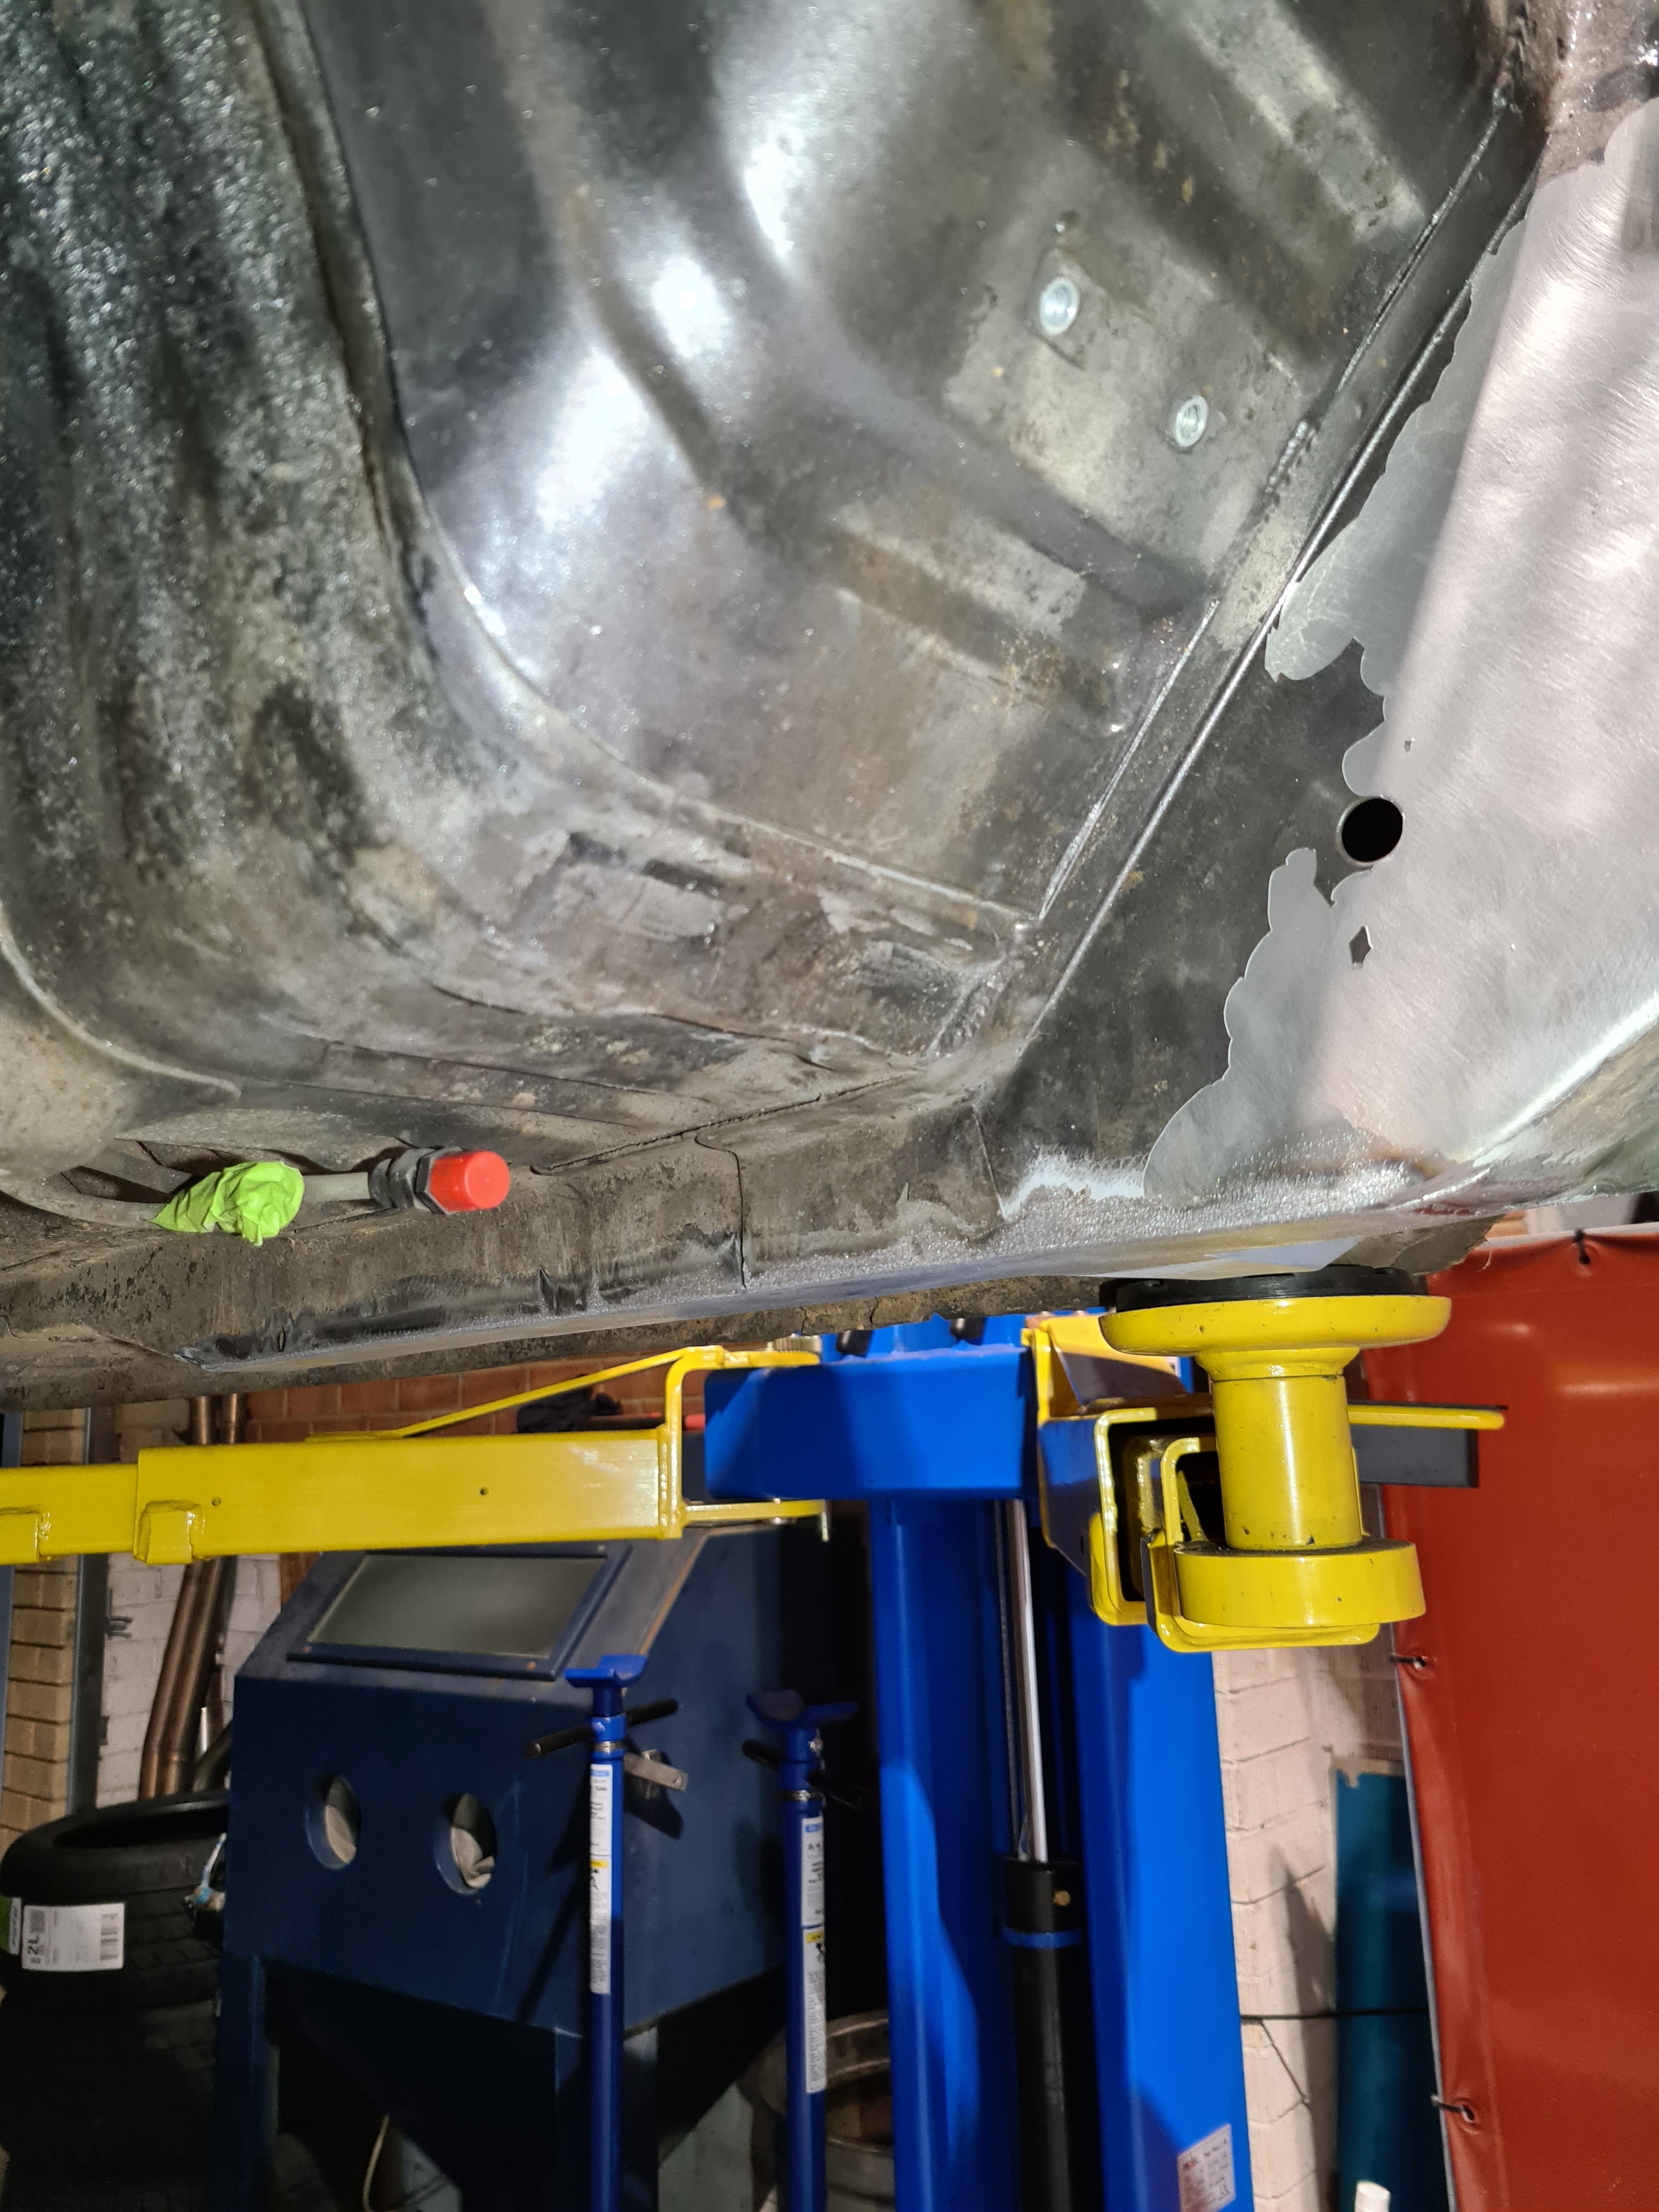
The car has run fibreglass rear over fenders ever since i first built this shell many years ago, but overs always have a wave to them and the bolts around the perimeter are a bit unsightly. For this next version of thr car i really wanted to step up the overall presentation and make it more respectable, afterall I’m try to go for that street driven driftcar look. So i purchased a pair of reproduction quarter panels and got to work swapping them onto the car, this was a task i was nervous to undertake, but the end results are better than i could have hoped for. As an added bonus i found some very poor rust repairs that had been done by the previous owner that are now in the bin. The next step will be grafting on the new metal flares to suit the wide wheels.

Strut top smoothing

Tags

Something I’ve always wanted to do was hide the strut top bolts for an ultra clean look, so i tig welded in some stainless countersunk bolts to act as studs that hang down into the stut tower, and then made a cover plate from 2mm zinc coated steel sheet to dress and reinforce the strut top, then mig welded them completely including the internal hole and plug welded to the top of each stud to tie it all together. Then metal finished it all off for an ultra smooth look. This should be really nice with a coat of paint. Next is to do the same with the cross member bolts.

Foot riser

The honda engine’s hotside is on the right, meaning that the exhaust runs directly under the driver’s feet, this was always very annoying before melting my shoes and burning the floor matt, so with the new exhaust tunnel done i made an aluminium foot riser to keep my feet away from the hot floor, this will also be ceramic coated for extra heat resistance and a bit of durability as well as me adding some grip tape to keep my feet planted. I’ll also add some heat reflective material to the underside of the floor to do everything i can to keep the cabin temps low.

Chassis work pt.1

Cut front rail is now on the same level as the rear portion
Oem front rail hangs lower than rear portion
Can see the hole cut for the exhaust tunnel for added ground clearance here as well.
Can see the raised cut line here as well as some of the previous damage to the rail from hitting the ground.

Something that i have wanted to do for quite a long time was raise the front portion of the chassis rails as they touch the road regularly and generally interfere when driving, so i marked out 20mm up from the base of them and started cutting. After cleaning it all up and profiling some new filler pieces i welded them completely in, and then sanded all the welds away to give a stock~ish appearance. Pretty happy with the end result.

Long time no see

Tags

, ,

Blog’s seem to have died with the rise of instagram and facebook taking over the build thread world, but i would still like to document some of my progress on the ae86. It’s been nearly a decade since i have posted here, and so much has changed on the car in that time. It’s now onto it’s 5th version and in for a ground up rebuild and slight redesign with some exterior changes and a built honda k24 race motor to be the star of the build.

I’ll go into more detail in future posts about all of the changes to the car, but for now I’m just glad to be posting on here again 🤗

Further progress.

Tags

Yesterday i got to work installing all of the bits that i received from SQ Engineering (www.s-86.com) this guy specializes in 20V 4age setups and swaps and is the best guy to see for any parts or info on these engines and how they can be converted/modified. I bought a full water system kit to re-route it to rwd format which includes a rear bypass plate, small side block off, front waterpipe with thermostat built in and soo many other great parts. Now the water.system is basically sorted i moved onto the coilpacks, i mounted the adaptor plate, also from SQ and shaved the 1NZ coilpacks to fit the motor, that’s all bolted on, the.dizzy blockoff cap is on, the new rear lifting point is painted and on, the sump has been repaired and painted now too, so the motor is becoming quite close to complete, i also removed 90% or so of the emitions/vacuum system that was unnessiscary so now its much more open and un-cluttered , so now for the photos! 🙂

image

image

image